On this page
Managing content
The Content section stores all your important files, from brand guidelines to data spreadsheets. This guide shows you how to add, organise, and use content effectively with agents.
What you’ll learn
- Uploading and indexing files.
- Building a folder structure that scales.
- Using files directly in chats.
- Best-practice maintenance for clean, reliable data.
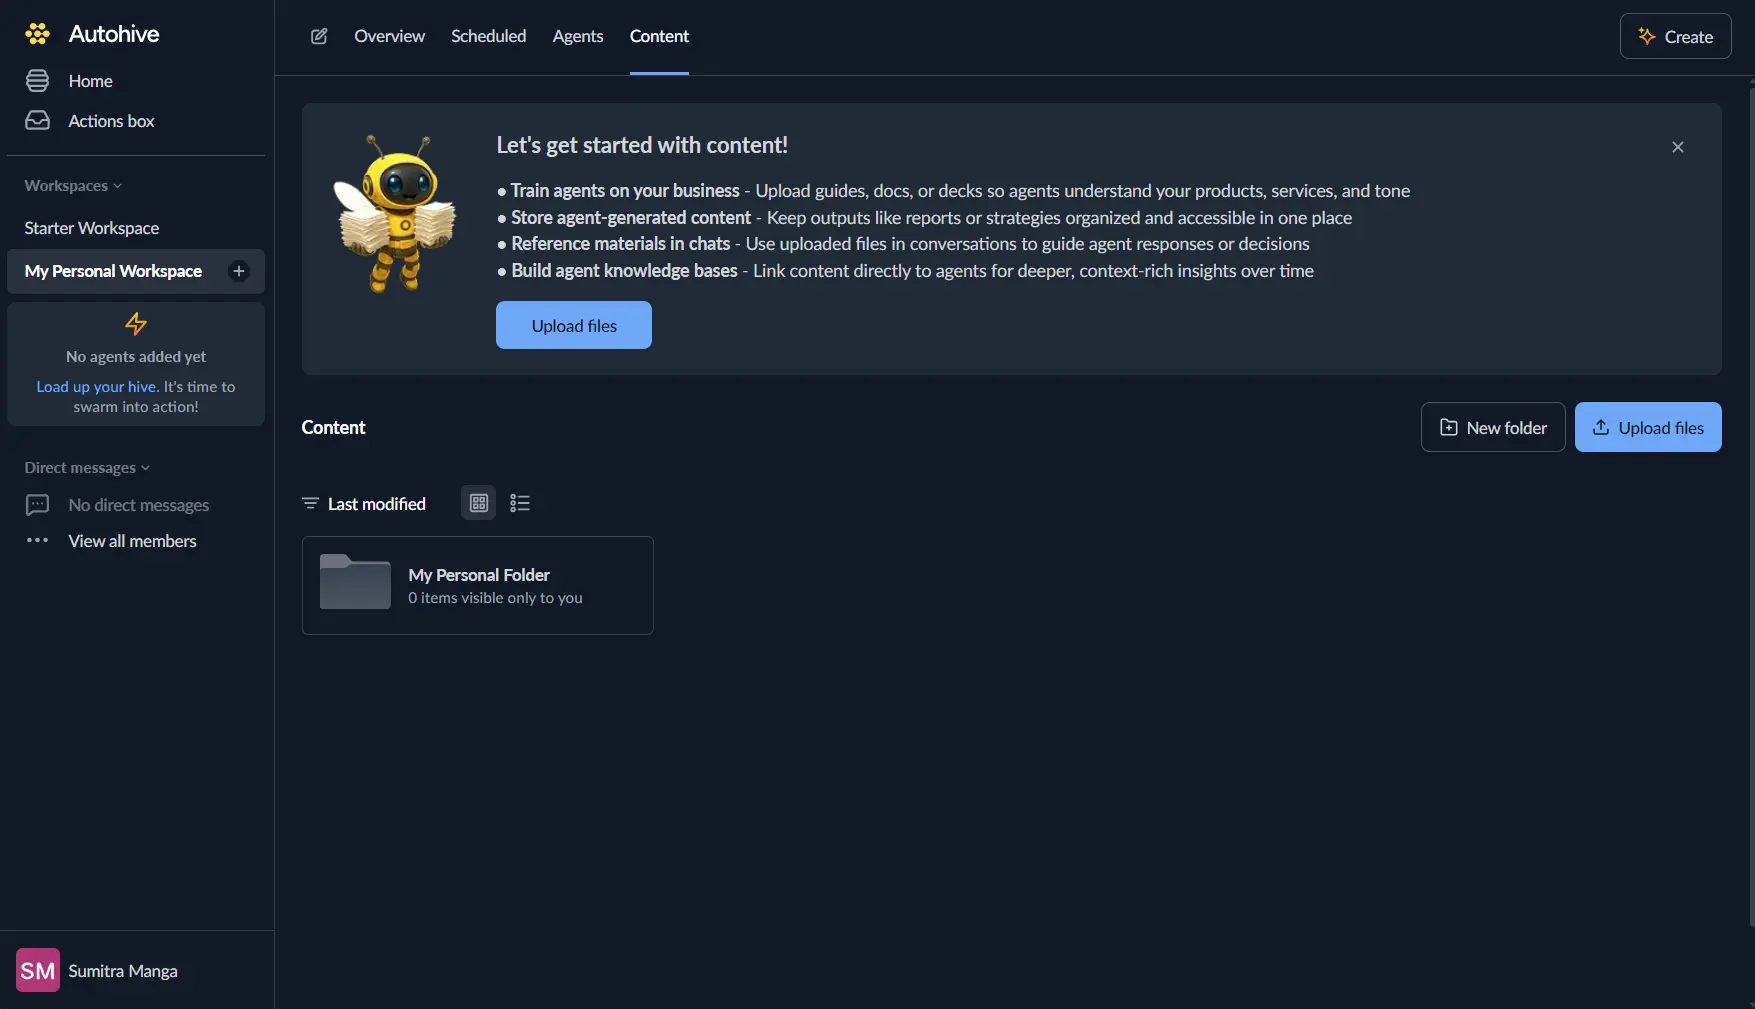
1. Adding files
- Click Content in the main menu.
- Click Upload files.
- Select your files, such as PDF, DOCX, PPTX, XLSX, CSV, images, and more.
2. Creating folders
Autohive offers two top-level areas:
| Area | Visibility |
|---|---|
| Workspace | Everyone (respecting permissions) |
| Personal | Only you, until you share |
Make a folder
- Navigate to the destination where you’d like the folder to be located.
- Click New folder.
- Name it (e.g.,
2025 Marketing).
Move & rename
- Drag & drop files between folders to your desired location.
- Create as many nested folders as you’d like.
🚀 Prefix folders (e.g.,
MK-) to keep related items together.
3. Using files in chats
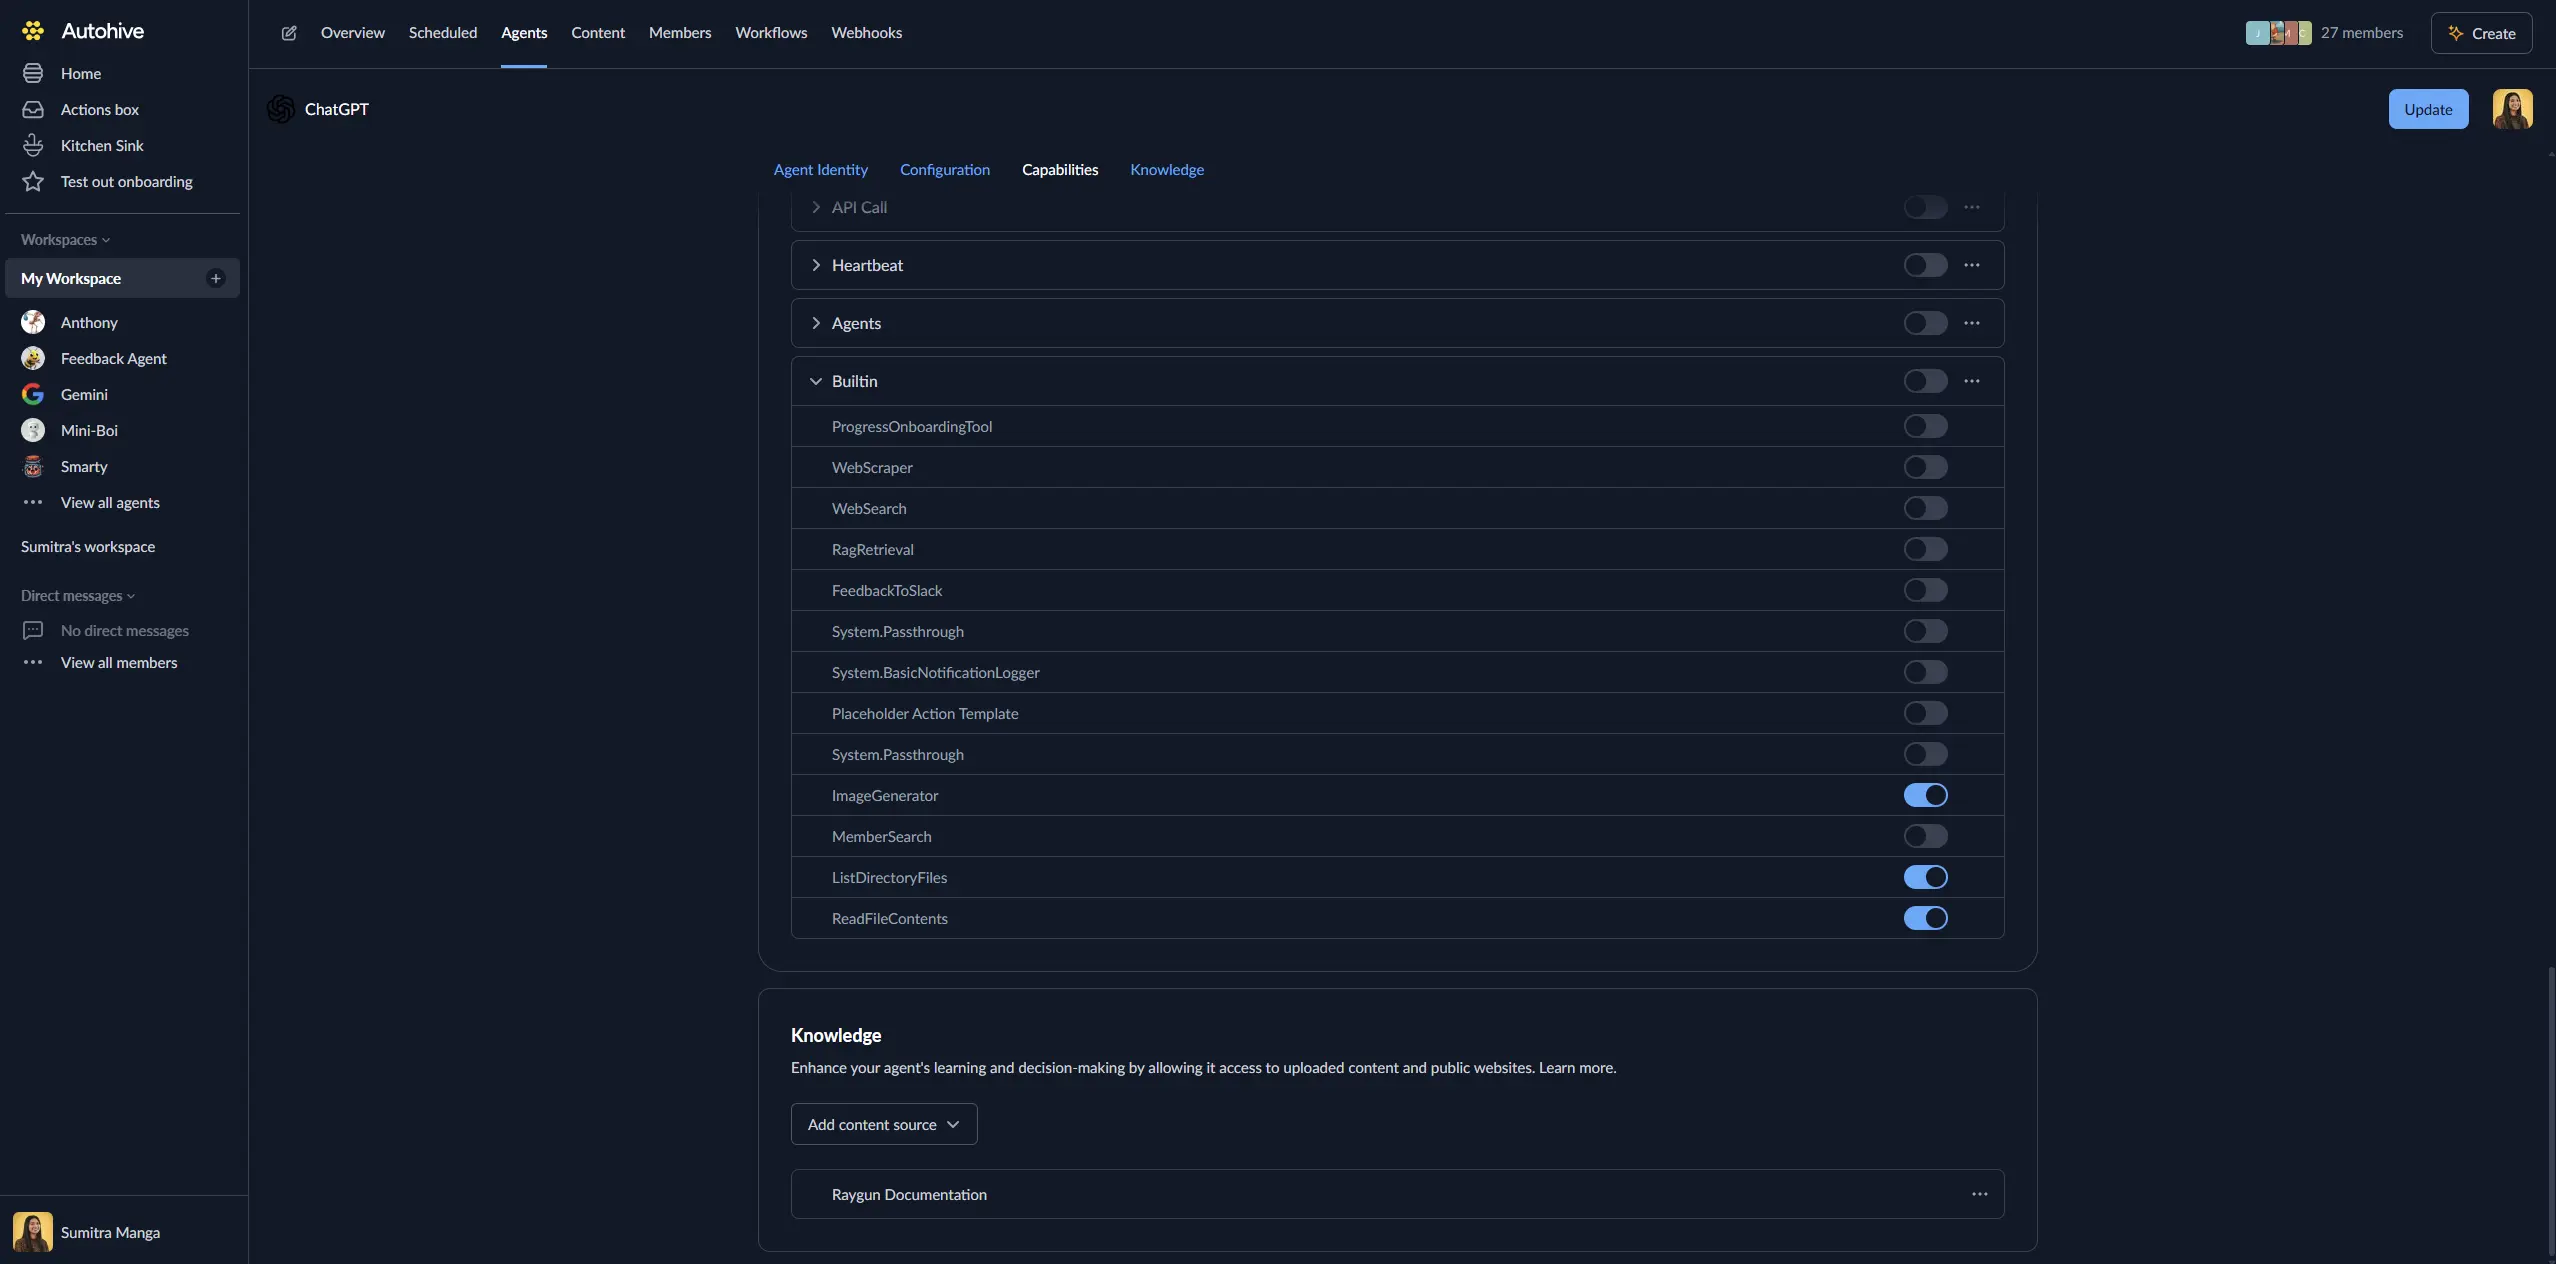
For agents to access your workspace content automatically, they must be properly configured.
- Enable required tools in the Agent knowledge base -> Where your agent looks for information settings:
- Let your agent search your workspace content folder when needed to find the most relevant files to learn from.
- Give agent full web search access.
This will allow the following capabilities:
RagRetrievalenables semantic search across indexed contentListDirectoryFilesallows browsing folders and file listingsReadFileContentspermits reading specific file contents
- Add workspace content in the Agent knowledge base section:
- Go to the agent settings → Content tab
- Click Add content source → Browse workspace content
- Select the folders/files the agent should have access to
Once configured, agents can automatically reference relevant content when answering questions or completing tasks.
4. Removing files
| Action | How | Notes |
|---|---|---|
| Permanently delete | … → Delete | Once it’s gone, it’s gone |
5. Managing access
- Personal files are controlled by you.
- Workspace files are managed by admins.
- Folder-level permissions (coming soon).
6. Tips for success
- Do a monthly cleanup to remove outdated files.
- Use clear filenames so agents locate content quickly.
- Update existing files instead of uploading duplicates.
- Schedule automation jobs to help delete stale content.
7. Common problems & fixes
| Problem | Why it happens | How to fix |
|---|---|---|
| File stuck processing | Large or complex file | Retry; contact support if >30 min |
| File doesn’t get uploaded | File type unsupported | Save as PDF/TXT and upload again |
| Agent can’t find file | File is private or just added | Move to workspace folder and wait a minute |
Keep your content organised and up-to-date to help agents deliver better results.