Quickstart
Welcome to Autohive! This guide will help you get started quickly and make the most of the platform.
1. Sign up & onboarding
First things first:
- Go to autohive.com and sign up for an account.
- After the intro, you’ll be taken through a structured tutorial with six steps to help you get the most out of Autohive:
- Chat with AI agents — Interact with multiple AI agents and get instant answers.
- Integrate with your current tools — Connect services like Google, Slack, and HubSpot so agents can access them.
- Invite and collaborate with team members — Share agents and work together in your workspace.
- Create a custom agent — Build an agent with smart prompts and tool connections tailored to your needs.
- Schedule your first job — Set up an agent task to run automatically.
- Create a workflow — Build an automated process that combines AI agents and tools.
You can complete these steps at your own pace — your progress is saved and visible in the sidebar.

2. Explore your workspace & meet your first agents
Once onboarding is complete, you’ll land in your Autohive workspace. Here’s what to check out first:
- Discover agents:
- Head to the Marketplace. Here you’ll find a variety of pre-built AI agents designed for different tasks.
- The Agents section in your sidebar will be your go-to place to find and manage agents you use frequently.

3. Upload content to enhance your agents
Autohive agents become more powerful when they have context about your specific needs and business.
- Navigate to the Content tab.
- Upload your documents: This could include guides, product documentation, FAQs, marketing materials, spreadsheets, etc.
- How it helps:
- Train agents: Your uploaded content helps agents understand your business, products, services, and tone of voice.
- Store generated content: Keep outputs like reports or strategies created by agents organised and accessible.
- Reference in chats: Use uploaded files directly in conversations to guide agent responses or provide data for tasks.
- Build knowledge bases: Link content directly to specific agents to give them deeper, context-rich insights over time.

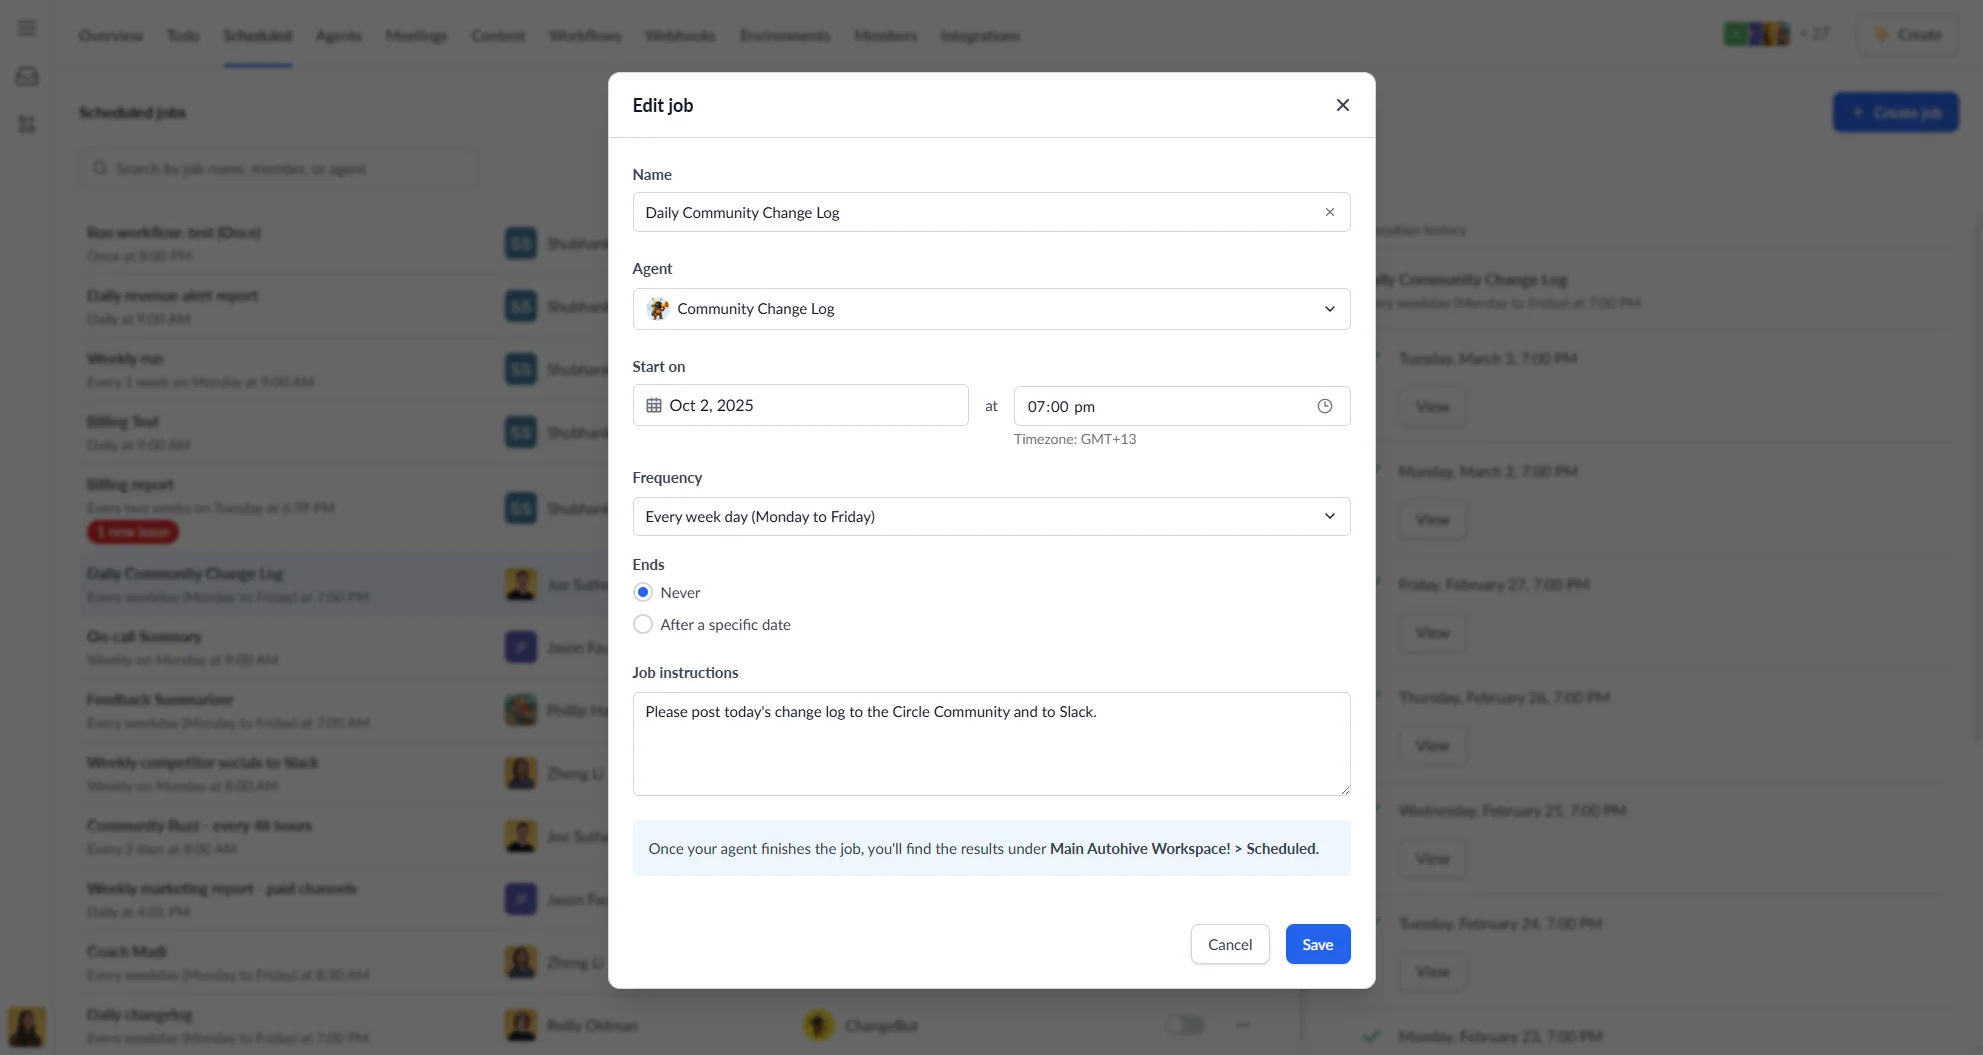
4. Automate tasks with jobs
Repetitive tasks can be automated using Autohive’s Jobs feature.
- Find the Jobs tab in the top navigation.
- Create scheduled tasks: Configure agents to perform actions on a recurring basis (e.g., daily reports, weekly summaries, data processing).
- Track job history: Monitor when jobs have run, their execution times, and their status (active or completed).
5. Build workflows to combine agents and tools
For more complex automation, Workflows let you chain together multiple agents and actions in a visual editor.
- Navigate to the Workflows section in your workspace.
- Add nodes: Each node represents an agent or action — drag them onto the canvas from the library.
- Connect nodes: Draw edges between nodes to define the execution order.
- Publish your workflow: Once you’re happy with the design, publish it to make it active.
Workflows are ideal for multi-step processes that go beyond what a single scheduled job can handle.
6. Next steps
As you get more comfortable, you can explore:
- Inviting team members: Invite colleagues to collaborate, chat with agents, and share information. Look for the Members option in your workspace settings.
- Integrations: Connect Autohive to other tools you use — find the full list in the Integrations section.
- Creating your own agents: Build and configure custom agents tailored to your team’s workflows.
We’re excited to see what you build and automate with Autohive! If you have any questions, don’t hesitate to reach out to our support channels or consult the full documentation.