Workspace management
As a workspace owner or manager, you keep everything organised, secure, and running smoothly. This guide covers all administrative settings in Autohive.
Managing your team
Adding new members
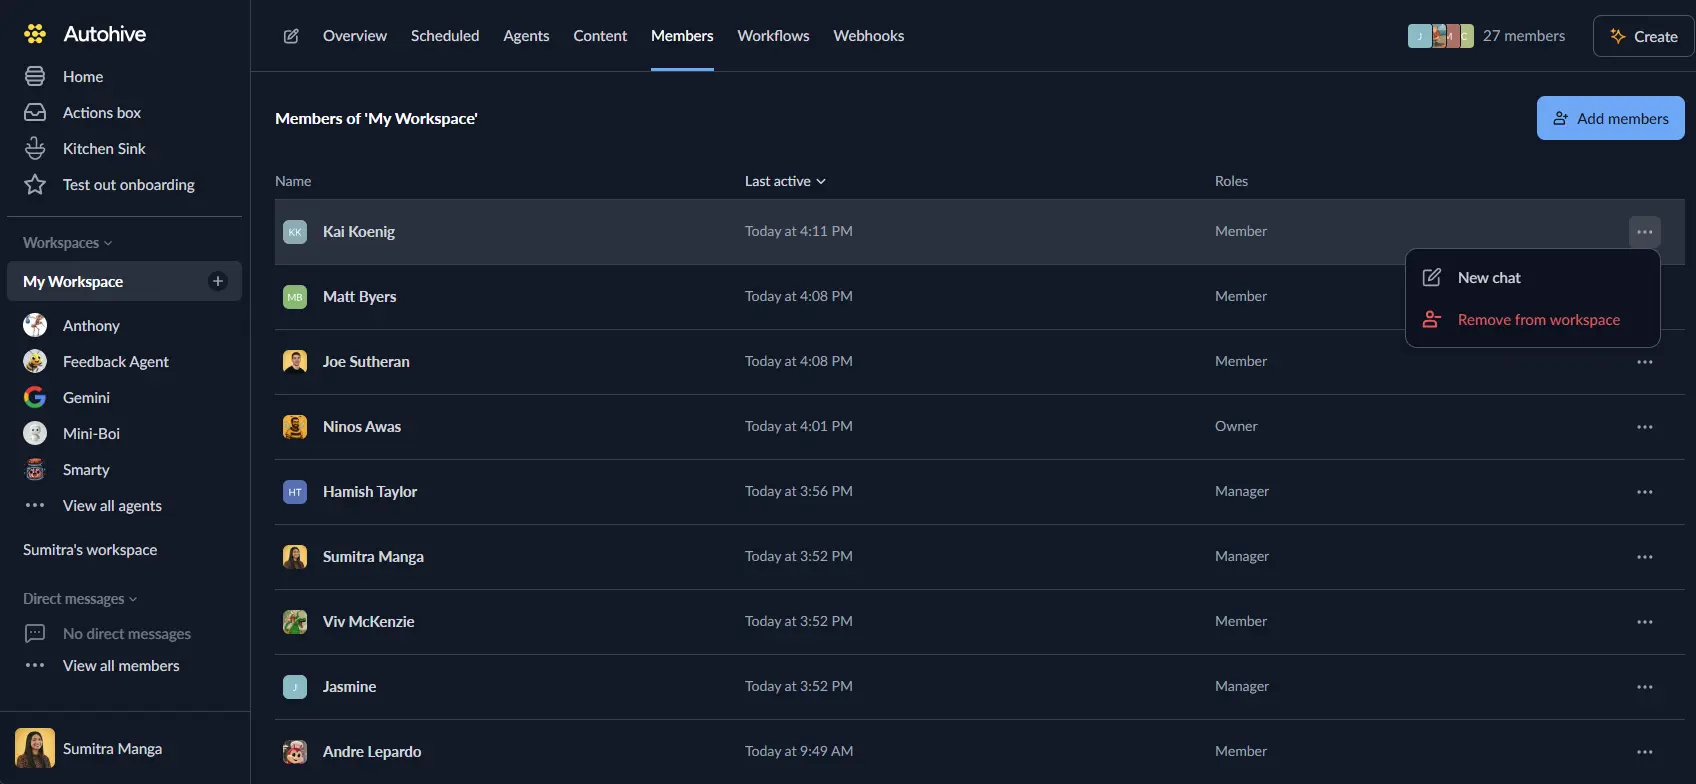
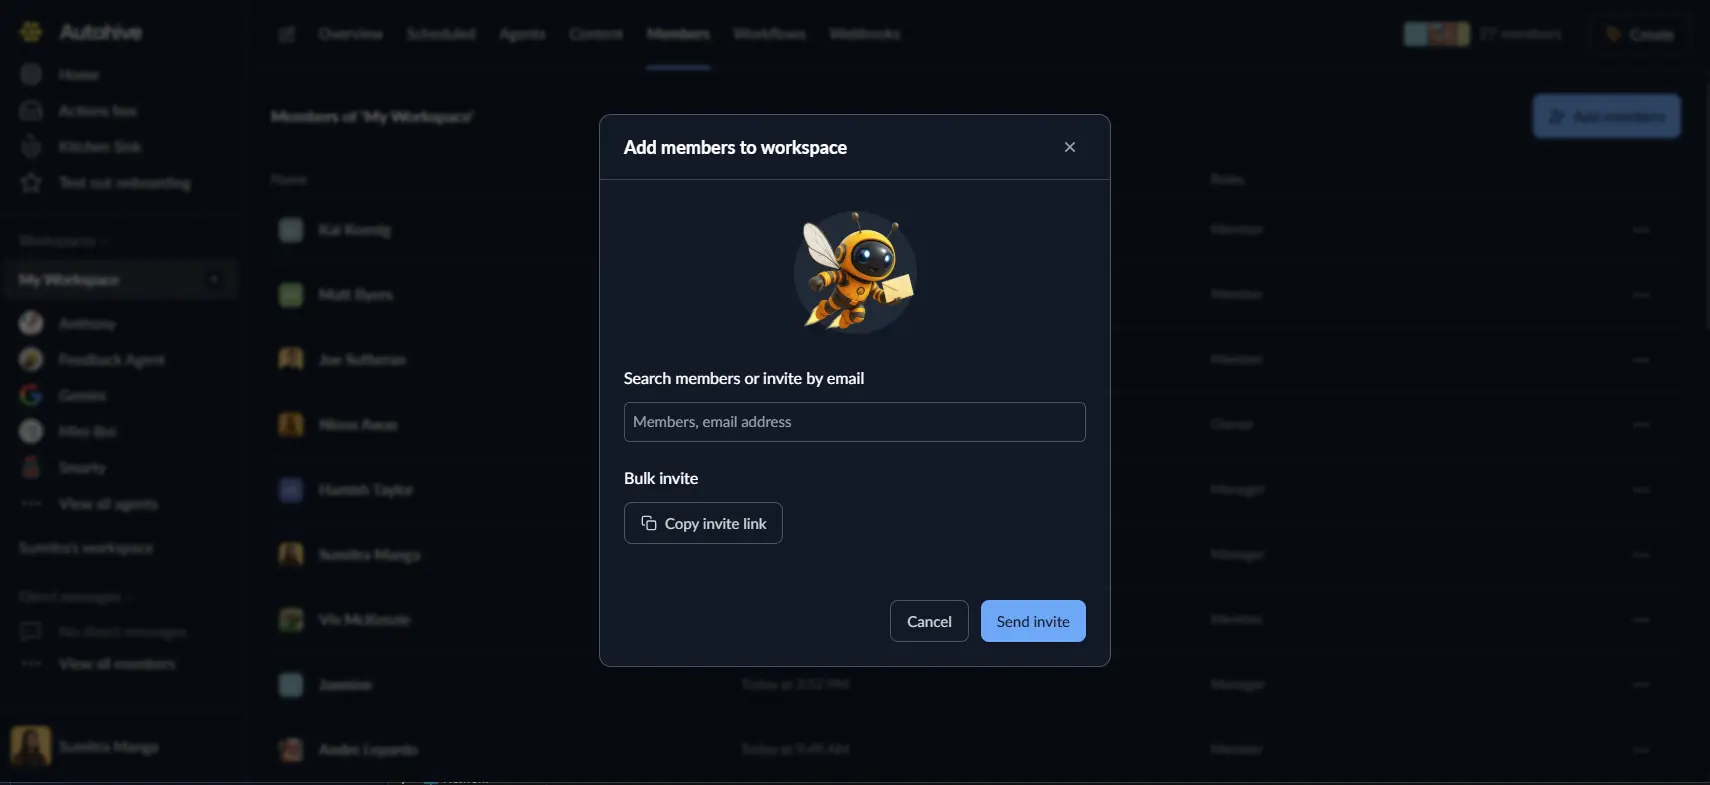
- Go to Members and click Add members.
- Enter email addresses (comma-separated).
Alternatively, you can bulk invite by sharing the provided link.
Roles & access
| Role | What they can do |
|---|---|
| Owner | Everything, including billing and workspace deletion |
| Manager | Manage team, tasks, content, and connections |
| Member | Use agents, chat, and upload files |
Managing access
Click the three-dots menu and click Remove from workspace to permanently remove a member when needed.
If you would like to leave a workspace, click on Workspaces in the sidebar -> View Workspaces -> Leave. You cannot leave a workspace that you own.
Create a new workspace
In some cases, you may want to create a new workspace for separation of concerns. To create a new workspace, head to the sidebar navigation -> Click on Workspaces -> Click ‘Add workspace’. You can choose to make a workspace private or public. Save the changes and away you go!
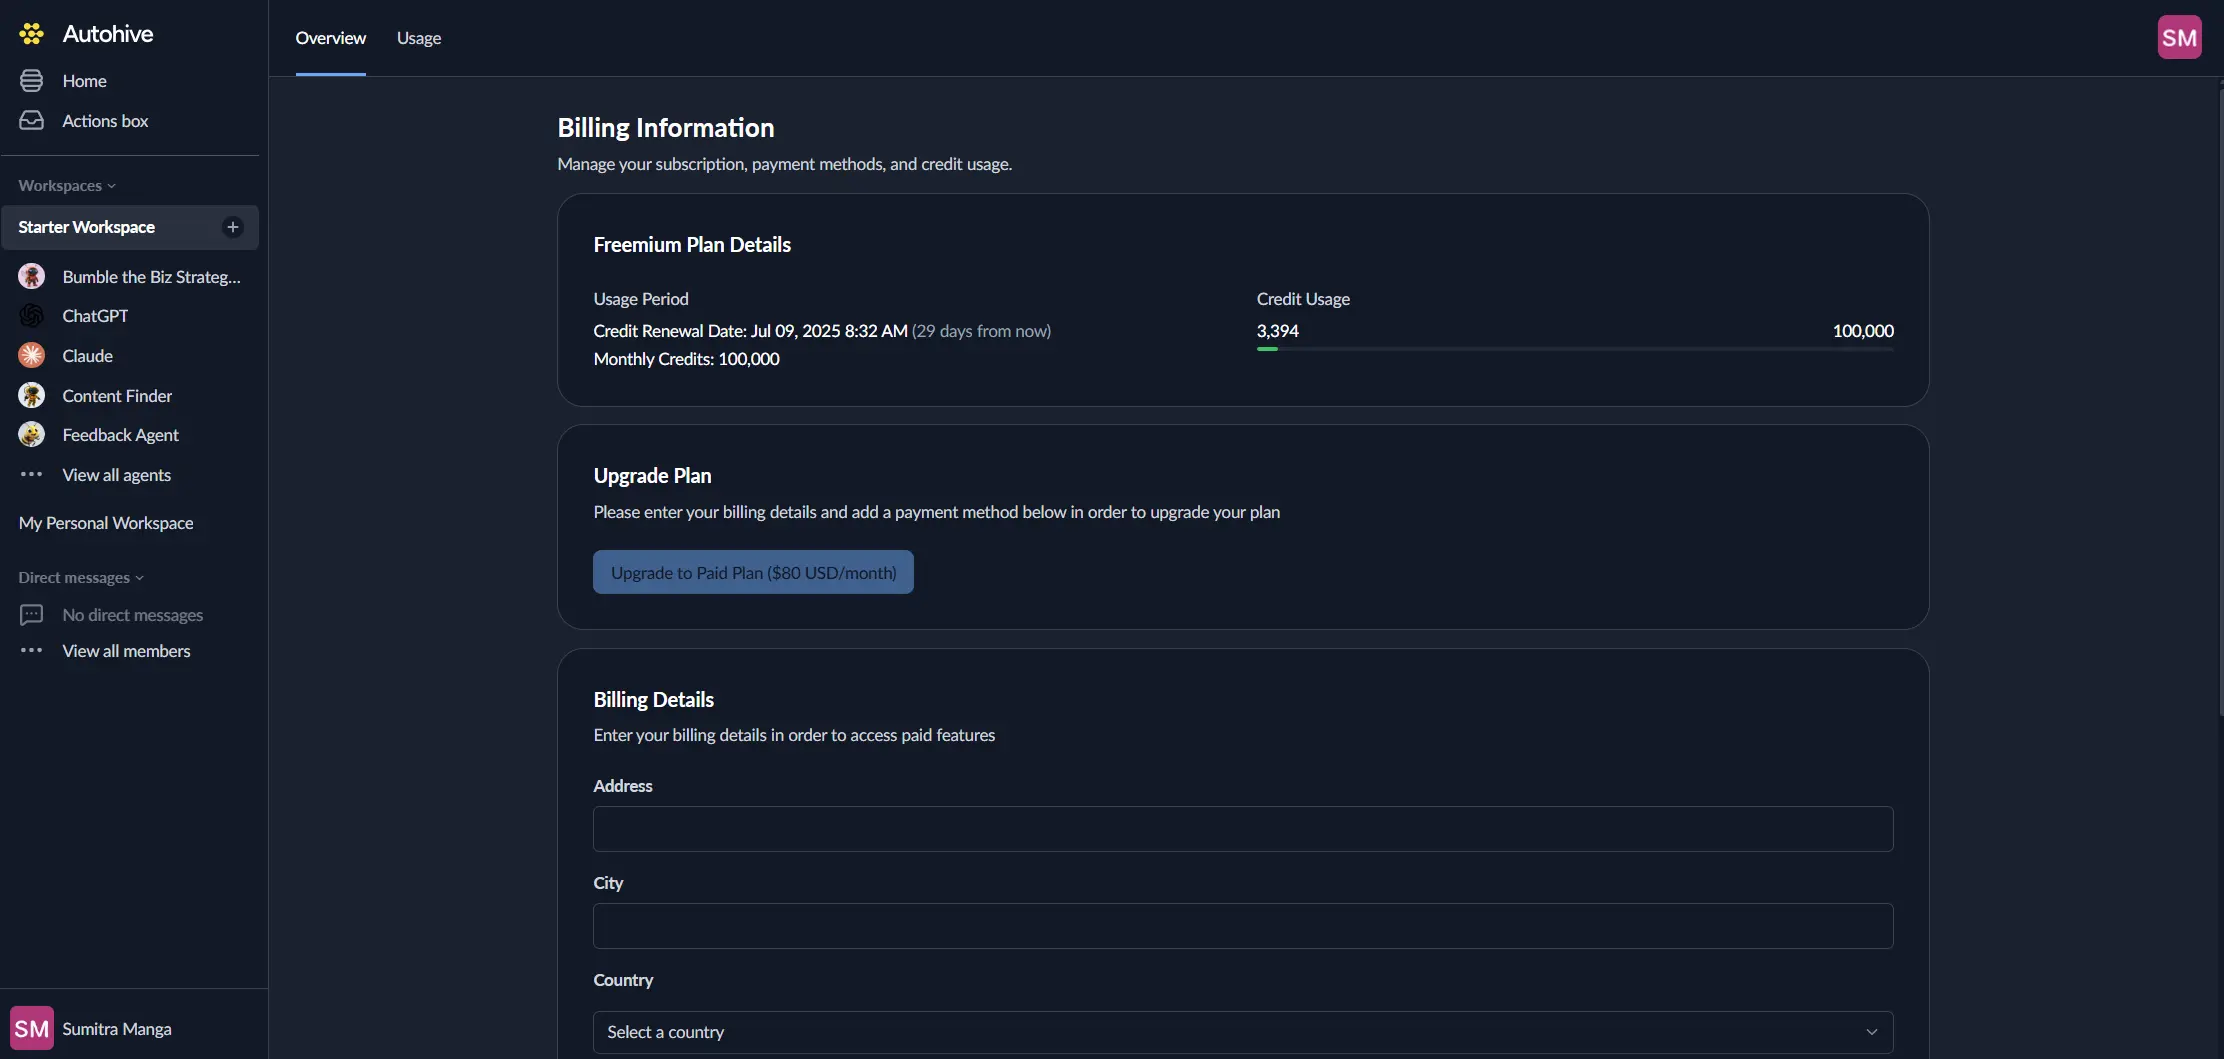
Billing
- Track storage space, agent usage, and task runs
- Update payment details.
- View past invoices.
- Change plans or preview next month’s costs.
Head to our Billing documentation for more information.
Common problems & solutions
| Problem | Usually because | How to fix |
|---|---|---|
| Invite emails missing | Spam filters | Check spam or allow noreply@autohive.com. |
Understanding these admin tools helps you keep your workspace running smoothly as your team grows.