WorkZappy
The Autohive WorkZappy integration connects your WorkZappy account to Autohive. Your agent can use it to:
- Manage projects. List, read, create, and update projects.
- Manage tasks. Create, read, search, update, and remove tasks.
- Read project setup. Look up members, task types, phases, and tags.
- Work with comments. Read the comments on a task and add new ones.
- Turn action items into tasks. Send action items from a meeting to a WorkZappy project.
Install the integration
WorkZappy connects with a personal API key. An API key is a pair of secret codes that lets Autohive act as you in WorkZappy.
Create your API key in WorkZappy. Open My Settings → Personal API Keys. Copy the client ID and the secret key.
Check the key’s permissions. The key needs access to the project you want to use. It also needs the API permissions for each action your agent will run.
Log in to Autohive and go to Your user profile > Connections or Your workspace -> Integrations.
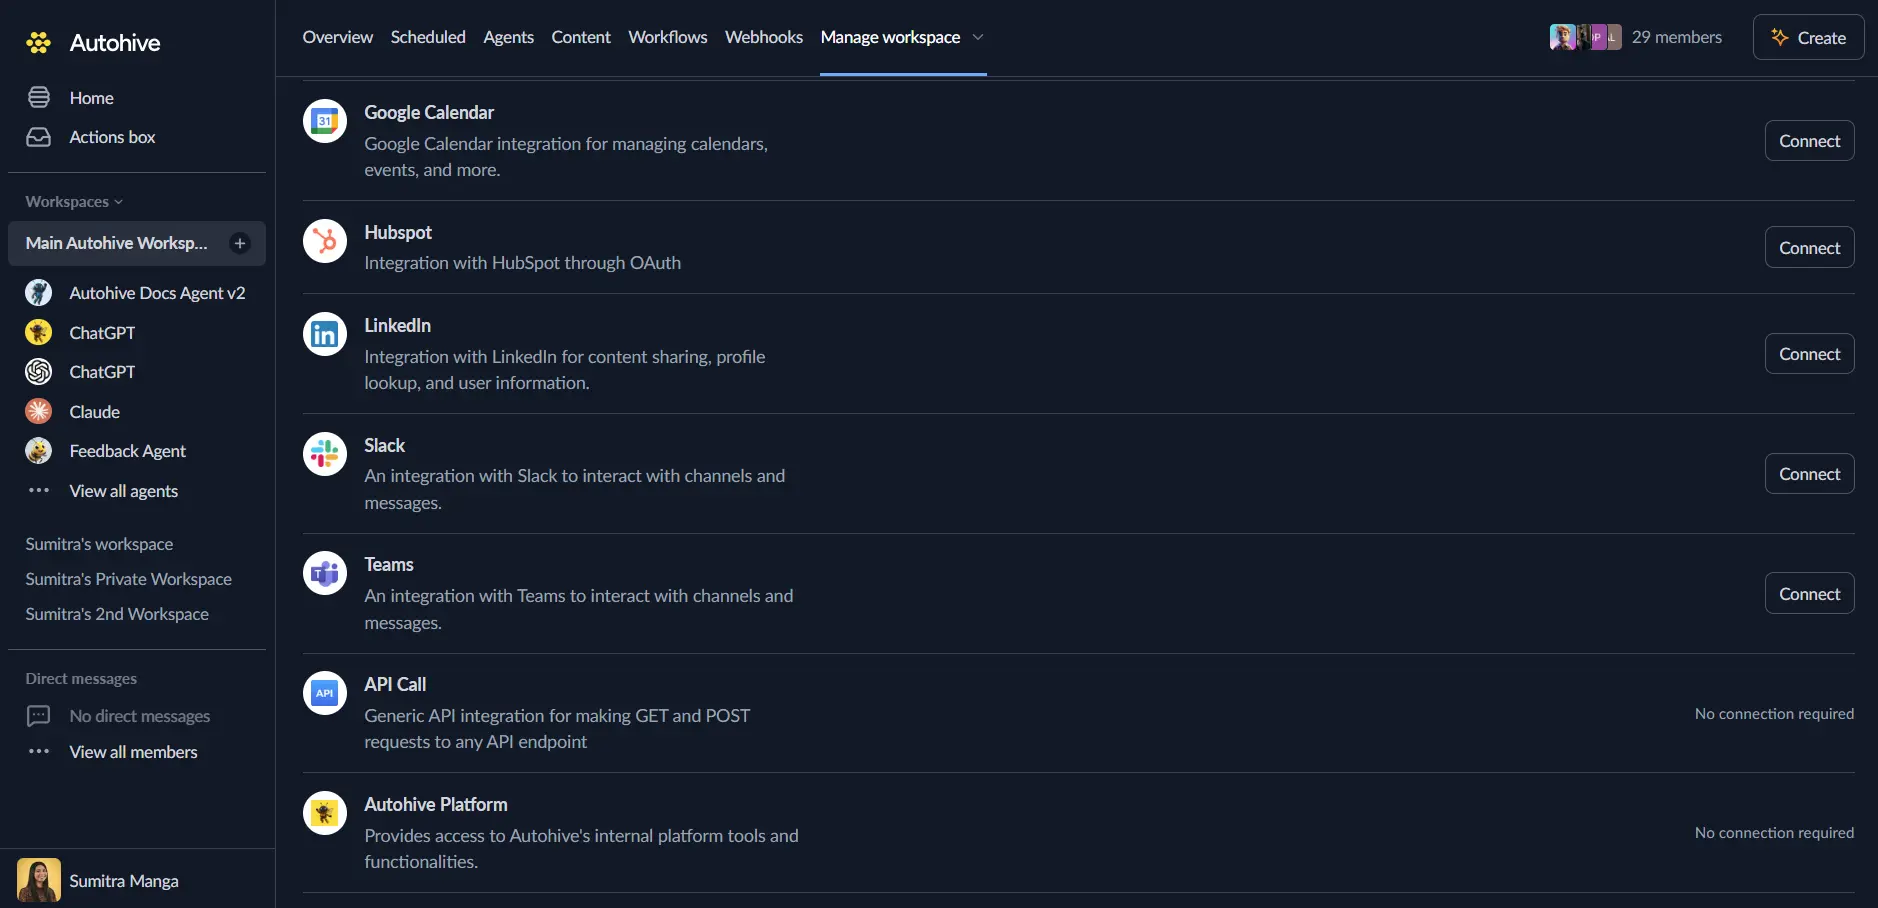
Find the WorkZappy card and click Connect to workspace.
Enter your details. Fill in these fields:
- Client ID. The client ID from your personal API key.
- Secret Key. The secret key from your personal API key.
Confirm installation. You return to Autohive with “Connected” status.
Use the integration
Turn on WorkZappy capabilities in Agent settings → Add capabilities. A capability is one action your agent can take.
- Follow our Create your first agent guide to build an agent.
- Turn on the capabilities you want your agent to use.
- Start prompting your agent with the task you want to do with WorkZappy.
Available capabilities
A few terms show up below:
- A project ID is the number WorkZappy gives each project.
- A task type is a kind of task, such as a bug or a story. Each project sets up its own task types.
- A task scheme lists the fields a task type uses and which ones are required.
- A field code is the short name WorkZappy uses for a field, such as
summaryorassignee.
Projects
- List Projects: List the projects you can see in WorkZappy.
- Get Project: Get the details of one project.
- Needs the project ID.
- Create Project: Create a new project.
- Needs a project name, a template code, and a leader ID.
- Optional description.
- Update Project: Change the fields of a project.
- Needs the project ID.
- Needs the fields to change, as field codes and values. For example,
pnameis the project name.
Project setup
- List Project Members: List the people in a project.
- Needs the project ID.
- List Task Types: List the task types in a project.
- Needs the project ID.
- Get Task Scheme: See the fields for one task type.
- Needs the project ID and the task type ID.
- Use it to find field codes and required values before you create a task.
- List Project Phases: List the phases in a project.
- Needs the project ID.
- List Project Tags: List the tags in a project.
- Needs the project ID.
Tasks
- Create Task: Create one task in a project.
- Needs the project ID, the task type ID, and a summary. The summary is the task title.
- Optional description with more detail.
- Optional status ID. It is required if the task type has no default status.
- Returns the ID of the new task.
- Get Task: Get the details of one task.
- Needs the task ID.
- Search Tasks: Find tasks in a project.
- Needs the project ID.
- Optional words to match in the summary.
- Optional page number and page size.
- Update Task: Change the fields of a task.
- Needs the task ID.
- Needs the fields to change, as field codes and values. For example,
summary,assignee, orstatus.
- Remove Task: Remove a task.
- Needs the task ID.
Comments
- List Task Comments: Read the comments on a task.
- Needs the task ID.
- Optional page number and page size.
- Add Task Comment: Add a comment to a task.
- Needs the task ID and the comment text.
- Optional parent comment ID, to reply to an existing comment.
Key features
Task creation
- Create a task from a title and a short description.
- Look up project IDs and task type IDs first, then create the task.
- Use the task scheme to fill in any required fields.
Search and paging
- Search Tasks and List Task Comments return one page at a time.
- Use the page number and page size to get the next page.
Careful writes
- Autohive sends each create, update, and remove request once. It does not retry.
- If WorkZappy does not confirm a change, the action returns an error message. Check the project before you try again.
Common use cases
Meeting follow-up
- Turn each action item from a meeting into a WorkZappy task.
- Send only the action title and the details that matter.
Project tracking
- Search a project for tasks about a topic.
- Read a task and its comments to prepare a status update.
Task upkeep
- Update the assignee or status of a task from a chat message.
- Add a comment to a task when something changes.
Project setup
- Create a project from a template and set its leader.
- List the members, task types, phases, and tags of a project.
Notes
- Meetings need extra setup. The integration gives your agent the Create Task action. You set up the step that sends action items after a meeting in Autohive.
- Test with one project first. Use a test project and a sample meeting with two action items. Check that both tasks appear in the right project.
- Check before you retry. WorkZappy does not offer a way to stop duplicate tasks. If a request times out, look in the project before you run it again.
- Task types need defaults. The task type must accept the fields you send. It must also give defaults for any other required fields.
- Permissions apply per action. Turn on the matching API permissions in WorkZappy for the actions you plan to use.
Disconnect the integration
Important: Disconnecting removes Autohive’s access to WorkZappy through this connection.
- Go to Your user profile > Connections or Your workspace -> Integrations.
- Find the WorkZappy integration.
- Click Disconnect and confirm.
Data Impact: Disconnecting does not change any data in WorkZappy. Delete the personal API key in WorkZappy if you no longer want it to work.