Webflow
The Autohive Webflow integration connects your Webflow sites with Autohive’s automation platform, enabling:
- Site and page management - List, retrieve, and publish sites and pages
- Visual design - Build responsive layouts, elements, styles, components, and design system variables
- CMS content - Create and manage collections, fields, and items
- Custom code - Read and write site- and page-level custom code and registered scripts
- Custom fonts - Upload, replace, update, and remove a site’s custom font files
Install the integration
Webflow uses OAuth to connect a single workspace at a time.
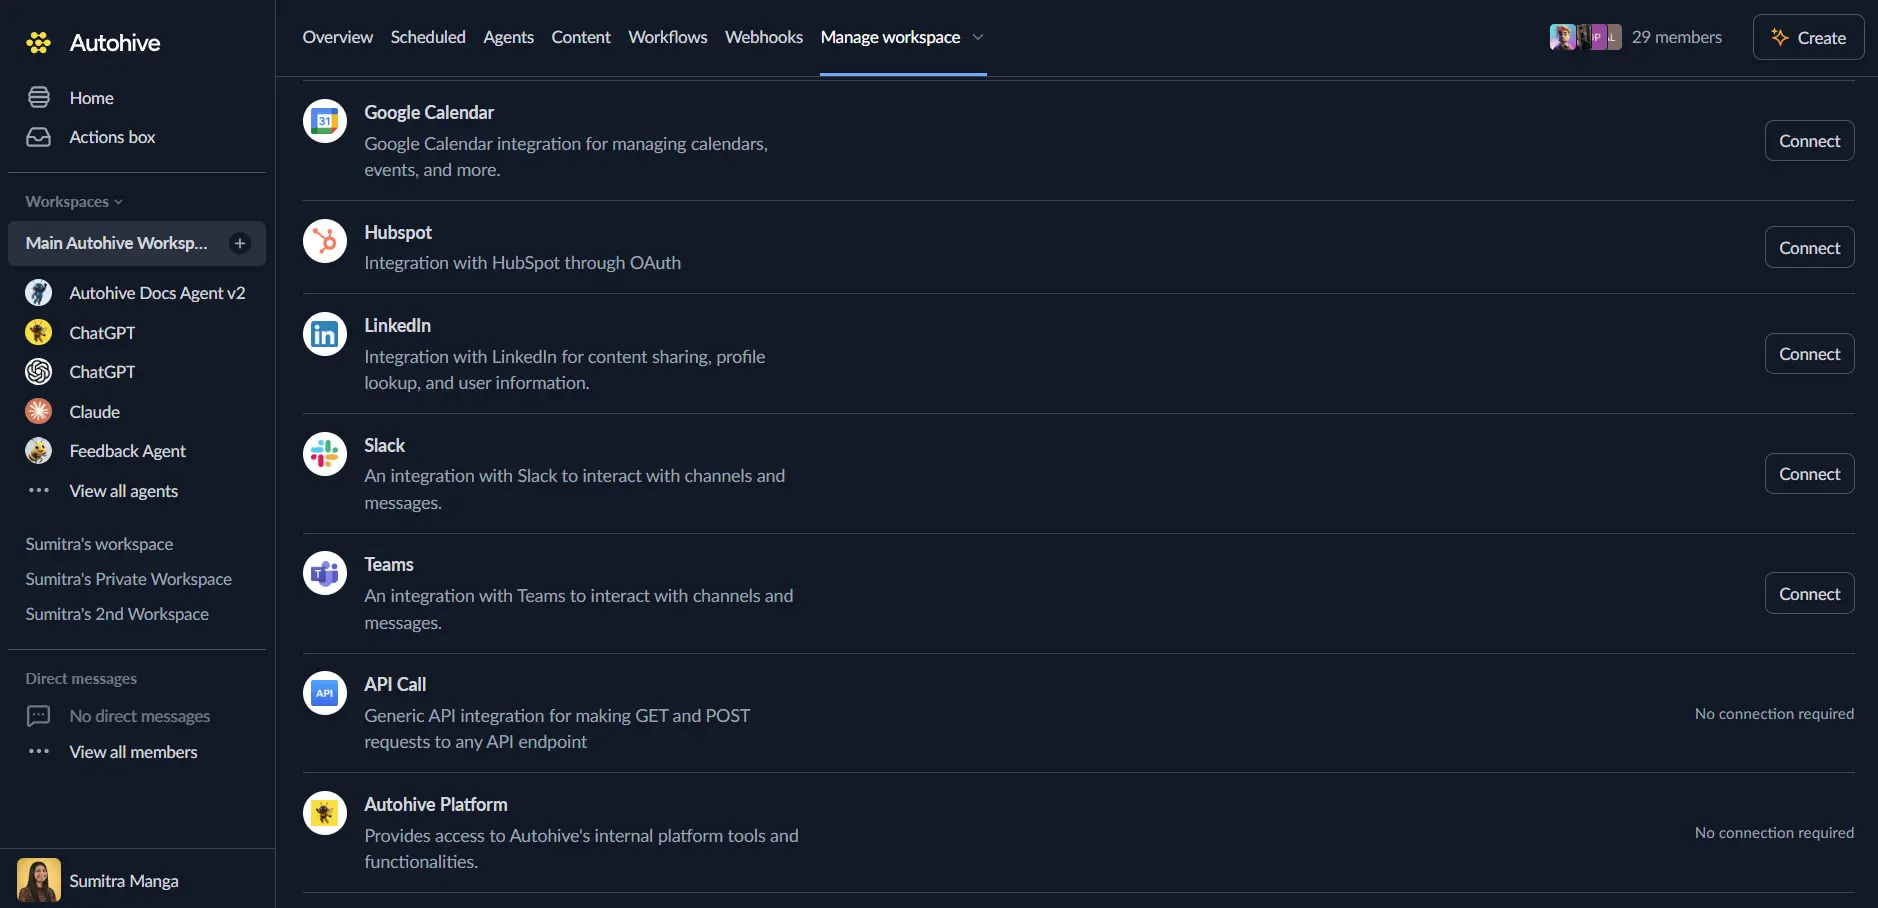
Log in to Autohive and navigate to Your user profile > Connections or Your workspace -> Manage workspace
Locate the Webflow Integration card and click Connect
Authorize with Webflow - you’ll be redirected to Webflow’s authorization page
Review and approve permissions. Each authorization grants access to a single workspace - to work with a different workspace, disconnect and reconnect
Confirm installation - you’ll be redirected to Autohive with “Connected” status displayed
Use the integration
You can now use the integration with your agents, workflows and scheduled tasks!
- Follow our Create your first agent guide on how to create an agent.
- In the ‘Agent settings’, scroll down to the ‘Add capabilities’ section and turn on the Webflow capability. You can choose what individual Webflow capabilities to turn on and off.
- Once the settings have been selected, begin prompting the agent of the workflow you’d like to achieve with Autohive and Webflow!
Available capabilities
Sites and pages
- List/Get/Publish Sites: List all sites, get site details, and publish site changes
- List Pages: List all pages on a site
- Page metadata and content: Get and update page metadata, settings, and static content
Design and build
- Responsive layouts: Build sections, containers, and grids that adapt across breakpoints
- Elements: Add, arrange, and remove elements such as rich text, buttons, form fields, images, and media embeds; edit their text, tags, attributes, and settings; find elements by type, text, style, tag, attribute, or component
- Styles: Reuse or create classes and combo classes, edit CSS properties, build styles from raw CSS, and manage styles across breakpoints
- Components: Create and manage components with full support for props, variants, slots, and metadata
- Page branches: Create, inspect, and delete page branches to work on changes in isolation
- Custom fonts: Upload, replace, update, and remove a site’s custom font files
- Design systems: Define variables, color schemes, typography scales, and spacing systems
CMS
- Collections: List, get, and create collections
- Fields: Create static, option, and reference fields, and update custom fields
- Items: Create, update, list, and publish collection items (live and staged)
Custom code
- Site/page scripts: Read and write freeform site- and page-level custom code
- Registered scripts: Manage scripts registered to a site
Key features
Prompt-to-layout design
Describe the layout, element, or style change you want and have it applied directly to a site’s Designer structure - no manual clicking through panels required.
CMS at conversation speed
Create collections, add fields, and manage collection items through natural language rather than the CMS editor UI.
Governed by your existing permissions
The integration enforces your Webflow permissions and roles, including custom roles - an agent can do only what you can do in the Designer, and all changes are recorded in the site’s activity log.
Common use cases
Rapid page and section scaffolding
- Ask an agent to build a new landing page section, including responsive layout and styles
- Iterate on copy, elements, and styling conversationally before publishing
CMS content operations
- Bulk-create or update collection items from a data source
- Add new fields to an existing collection as content needs evolve
Site maintenance
- Audit and update custom code or registered scripts across a site
- Publish pending page or CMS changes on a schedule
Disconnect the integration
- Navigate to Your user profile -> Connections or Your workspace -> Manage workspace
- Find the Webflow Integration
- Click Disconnect and confirm
Data Impact: Existing sites and content remain unchanged in Webflow. Disconnecting only removes Autohive’s API access.