Register an MCP server
Register any Model Context Protocol (MCP) server as a custom integration in Autohive. Once registered, its tools are automatically discovered and available to your agents and workflows — no custom code required.
Register an MCP server
You will need the HTTP(S) endpoint URL of the MCP server and any authentication credentials before you begin.
- Navigate to Integrations in your workspace or plan settings.
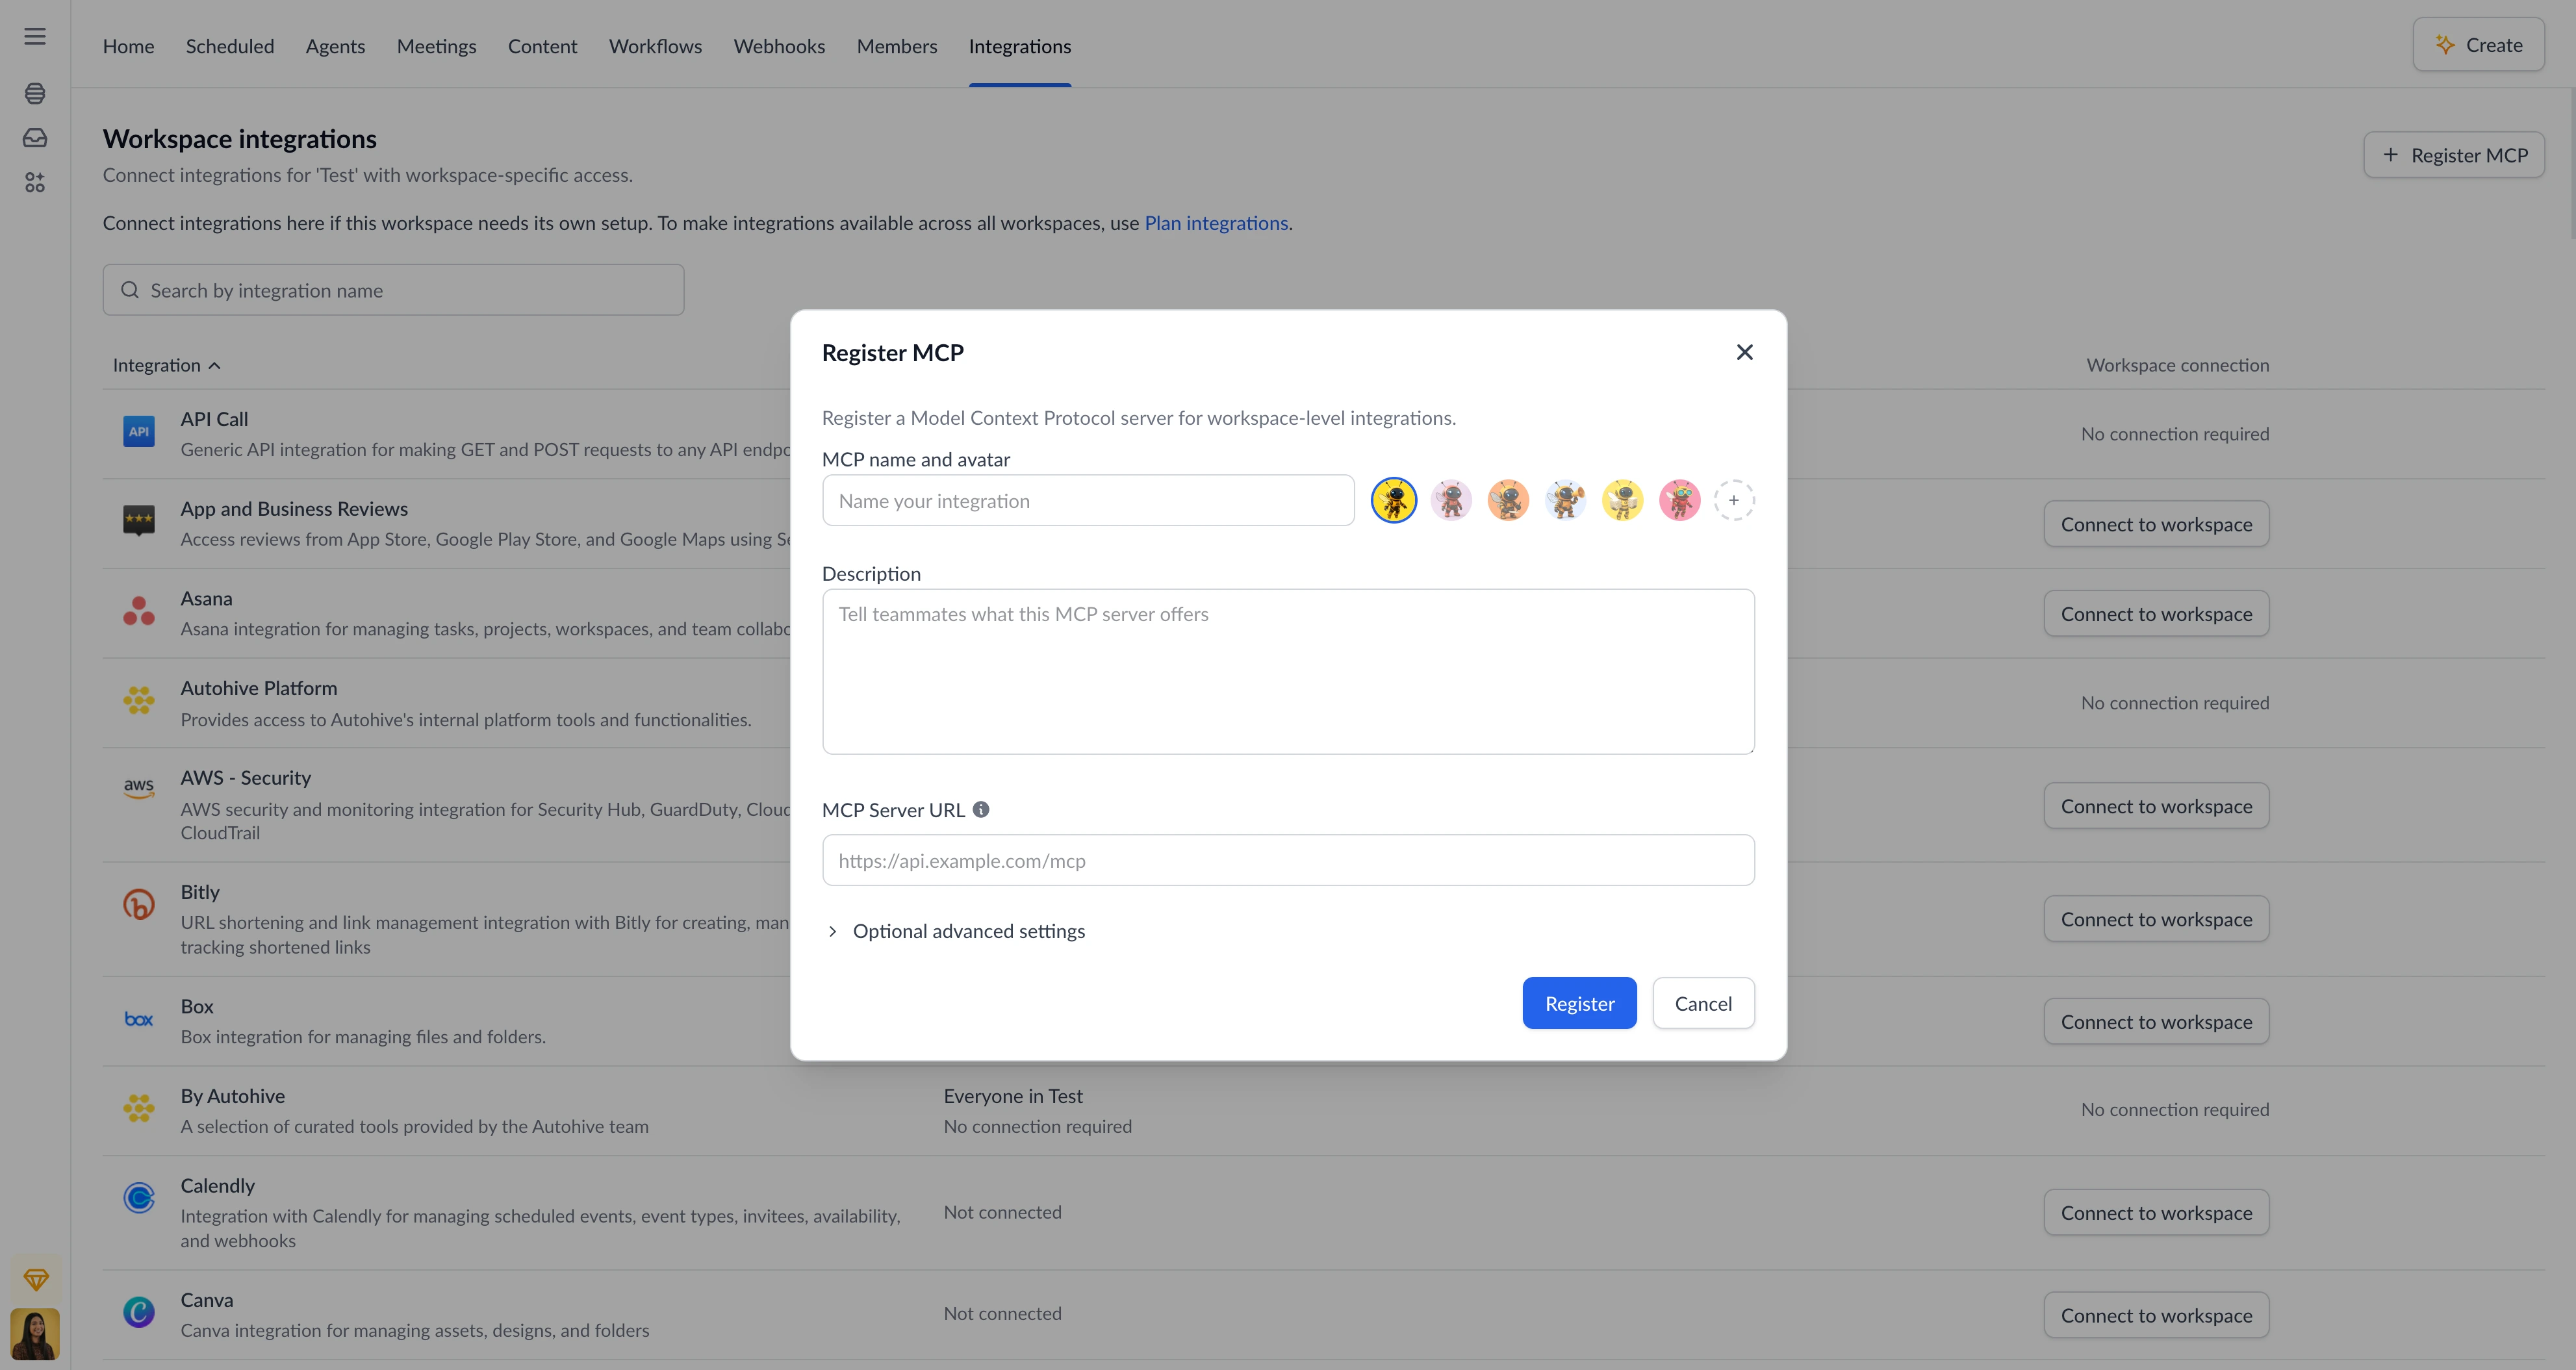
- Click Register MCP server.
- Fill in the registration form fields and click Register.
Autohive connects to the endpoint, discovers all available tools, and adds them to your integrations list.
Registration form fields
| Field | Description |
|---|---|
| Name | A display name for this integration (e.g. My Company Data API) |
| Description | What the MCP server provides and what your agents can do with it |
| Endpoint | The full HTTP(S) URL to the MCP server (e.g. https://api.example.com/mcp) |
| Icon | Choose from the default icons or upload a custom image |
Expand Optional advanced settings to configure optional secrets.
Authentication
MCP servers can require authentication. Autohive supports two methods.
Bearer token
If your MCP server issues API tokens:
- Expand Advanced settings.
- Enter your token in the API Token field.
- Click Register — Autohive sends the token as a
Bearerheader on every request.
OAuth 2.0
If your MCP server supports OAuth 2.0:
- Leave the API Token field empty and click Register.
- Autohive automatically discovers the server’s OAuth configuration and initiates the authorization flow.
- A browser popup will open — sign in and approve the requested permissions.
Once authorized, Autohive stores the credentials securely and handles token refresh automatically.
No authentication
If the MCP server is open or handles access control at the network level, leave all authentication fields empty.
Use the integration
Once registered, the MCP integration’s tools are available in any agent or workflow on the same plan or workspace.
- Open or create an agent.
- Go to Agent settings > Add capabilities.
- Find your MCP integration by name and enable it.
- Enable or disable individual tools as needed.
- Start prompting — the agent can now call the MCP server’s tools.
Remove the integration
- Navigate to Integrations in your workspace or plan settings.
- Find the MCP integration.
- Click Remove and confirm.
Common issues
| Problem | Why it happens | How to fix |
|---|---|---|
| “Could not connect to endpoint” | URL is unreachable or incorrect | Verify the endpoint URL and ensure the server is accessible from the internet |
| “Authentication failed” | Token is invalid or expired | Re-enter the API token, or click Reconnect to restart the OAuth flow |
| “OAuth credentials required” | Server does not support automatic client registration | Enter your OAuth Client ID and Client Secret manually in Advanced settings |
| No tools discovered | Server returned an empty tool list | Check that the MCP server has tools configured and your credentials have sufficient permissions |
| Tools missing after update | Server added new tools since registration | Remove and re-register the integration to trigger a fresh tool sync |