Netlify MCP
The Autohive Netlify MCP integration connects to Netlify’s official hosted Model Context Protocol server, enabling:
- Coding context - Retrieve Netlify-specific coding guidance (Functions, Edge Functions, Blobs, Image CDN, and more) before generating code for a project
- Project lifecycle management - Create, configure, and manage Netlify projects end-to-end, including environment variables, forms, and visitor access controls
- Deploy management - Deploy sites and retrieve deployment status and information
- Team operations - View and manage team membership and collaborative workspace settings
- Extension management - Install, configure, and uninstall Netlify extensions, including database initialization
- User account access - Retrieve and manage information about the authenticated Netlify account
Install the integration
Netlify MCP connects to Netlify’s official hosted MCP server (https://netlify-mcp.netlify.app/mcp).
Log in to Autohive and navigate to Your user profile > Connections or Your workspace -> Manage workspace
Locate the Netlify MCP Integration card and click Connect
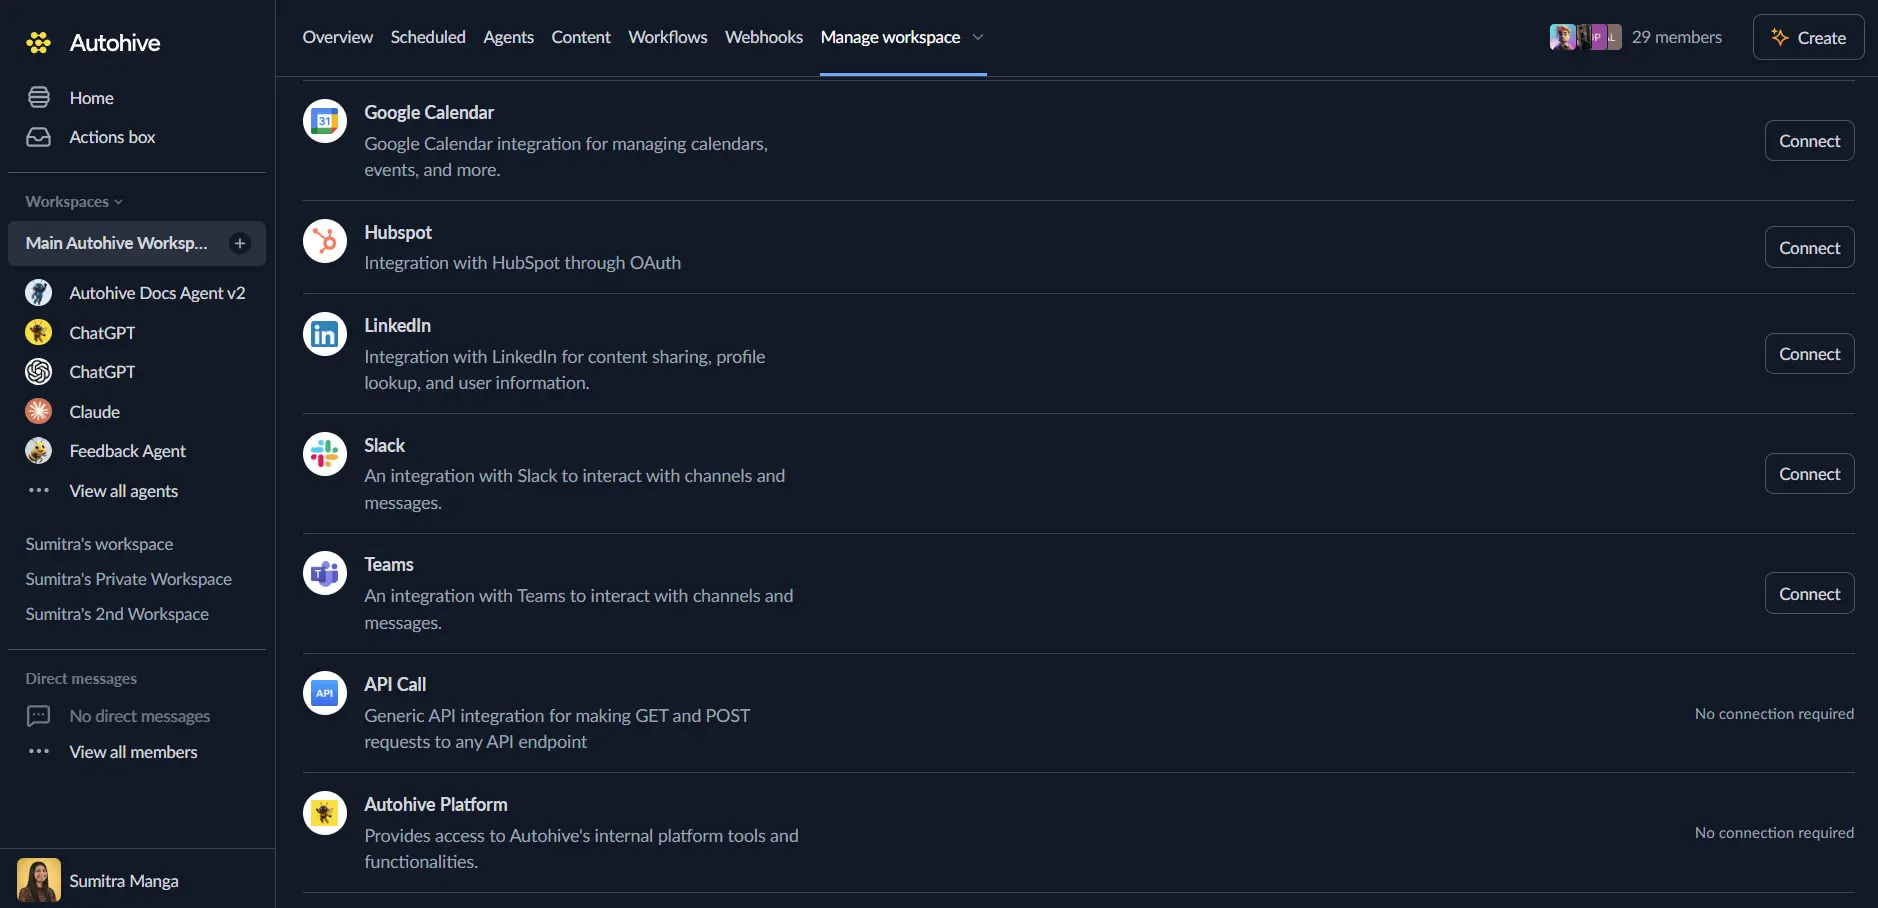
Authorize with Netlify - you’ll be redirected to Netlify to sign in (if not already signed in) and approve the connection
Review and approve permissions. The connection can only read and manage Netlify resources that you personally have access to
Confirm installation - you’ll be redirected to Autohive with “Connected” status displayed
Use the integration
You can now use the integration with your agents, workflows and scheduled tasks!
- Follow our Create your first agent guide on how to create an agent.
- In the ‘Agent settings’, scroll down to the ‘Add capabilities’ section and turn on the Netlify MCP capability. You can choose what individual Netlify MCP capabilities to turn on and off.
- Once the settings have been selected, begin prompting the agent of the workflow you’d like to achieve with Autohive and Netlify!
Available capabilities
Coding context
- Get Netlify coding context: Retrieve essential, Netlify-specific coding guidance before generating code intended to run on Netlify, covering Functions, Edge Functions, Blobs, Netlify Database, Image CDN, Forms, file-based configuration, caching, framework adapters, and the AI Gateway
Project services
- Manage the project lifecycle: Create, configure, and manage Netlify projects/sites end-to-end
- Manage environment variables: Create, update, and remove environment variables and secrets for a project
- Manage forms: Enable and manage Netlify Forms and form submissions for a project
- Manage visitor access controls: Configure who can access a project’s deployed content
Deploy services
- Deploy sites: Trigger new deployments for a project
- Get deployment information: Retrieve deployment status and details for existing deploys
User services
- Manage user account: Retrieve and manage information about the authenticated Netlify user account
Team services
- Manage teams: View and manage team membership and collaborative workspace settings
Extension services
- Manage extensions: Install, configure, and uninstall Netlify extensions, including initializing a Netlify Database for a project
Key features
Comprehensive CLI-equivalent access
The MCP server exposes much of the Netlify CLI’s functionality as agent-callable tools, going beyond a narrow slice of the REST API to cover deploys, environment configuration, forms, extensions, and team administration from a single connection.
Coding-context-aware
The dedicated coding context tool primes agents with Netlify-specific best practices (Functions, Edge Functions, Blobs, Image CDN, caching, and more) before they write code intended to run on Netlify.
End-to-end project lifecycle
Beyond sites and deploys, agents can manage environment variables, form submissions, visitor access controls, and installed extensions without switching tools.
Common use cases
Automated deployment workflows
- Trigger deployments for a project and monitor their status
- Retrieve deployment details to diagnose failed or delayed deploys
- Coordinate deploy timing as part of a larger automation workflow
Environment and configuration management
- Create or update environment variables and secrets for a project
- Adjust visitor access controls to manage who can view deployed content
- Enable and manage form submissions for a site
Team and access administration
- Review team membership and collaborative workspace settings
- Fetch user account information for verification and reporting
Extension and platform automation
- Install or uninstall Netlify extensions as project requirements change
- Initialize a Netlify Database for a new or existing project
- Retrieve Netlify-specific coding context before generating code for Functions, Edge Functions, or other Netlify primitives
Disconnect the integration
Important: Disconnecting stops data synchronization but preserves existing data in both systems.
- Navigate to Your user profile -> Connections or Your workspace -> Manage workspace
- Find the Netlify MCP Integration
- Click Disconnect and confirm
Data Impact: Existing data remains unchanged in both systems, but sync stops and Autohive loses Netlify MCP access.