Workspace members
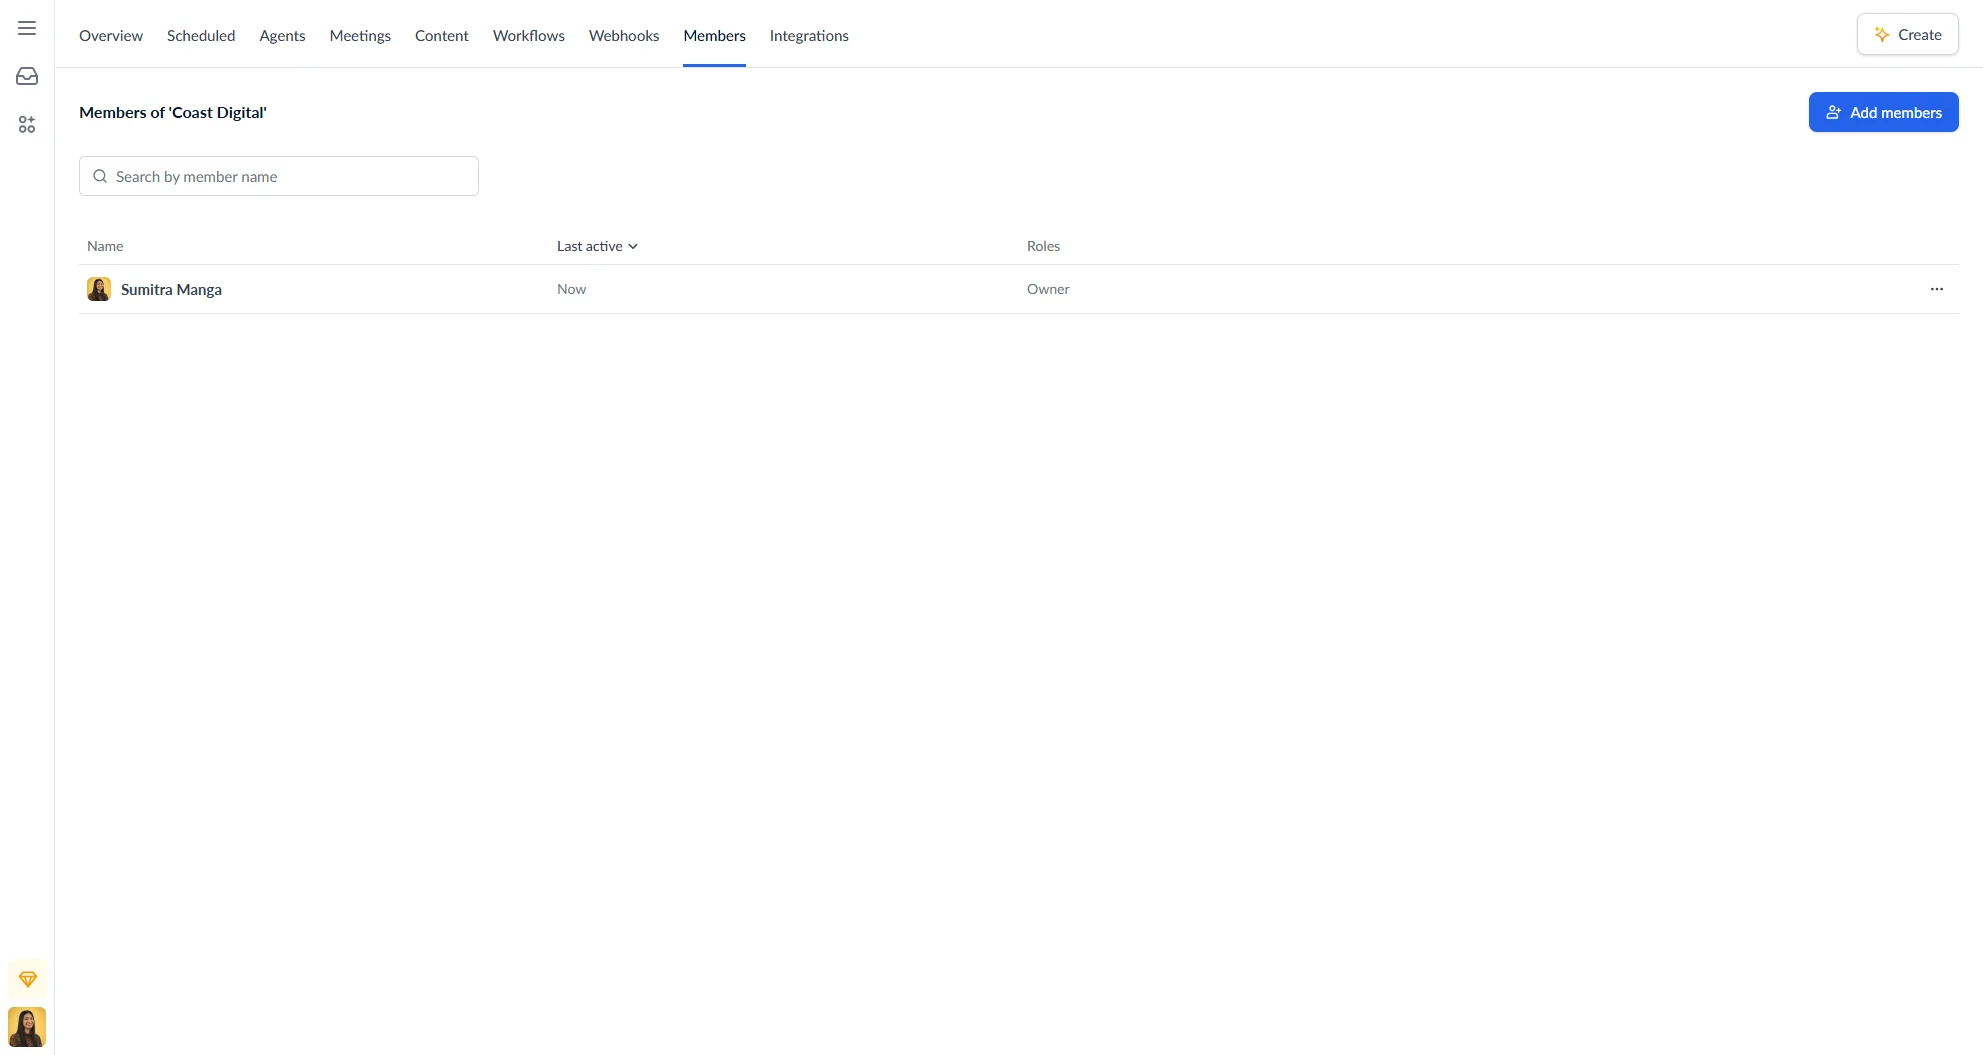
The Members tab shows everyone in your workspace and lets you invite new members, manage access, and remove members when needed.
Access it by clicking the Members tab in your workspace header. This tab is only available in shared workspaces — it does not appear for personal workspaces.
Members list
The members list shows all current members of the workspace with the following columns:
| Column | Description |
|---|---|
| Name | Member name and avatar — click to open a direct message |
| Last active | When the member was last active (e.g. Now, Today at 2:30 PM, Never) |
| Roles | The member’s plan role: Owner, Manager, or Member |
Click any column header to sort. The list defaults to most recently active first.
Use the Search by member name field to filter the list by name or email address.
Member actions
Click the three-dot menu on any member row to:
- New chat — open a direct message with that member
- Remove from workspace — remove the member from the workspace
Adding members
You can add existing plan members to the workspace or invite new people by email. New members will receive an invitation to join Autohive before being added to the workspace.
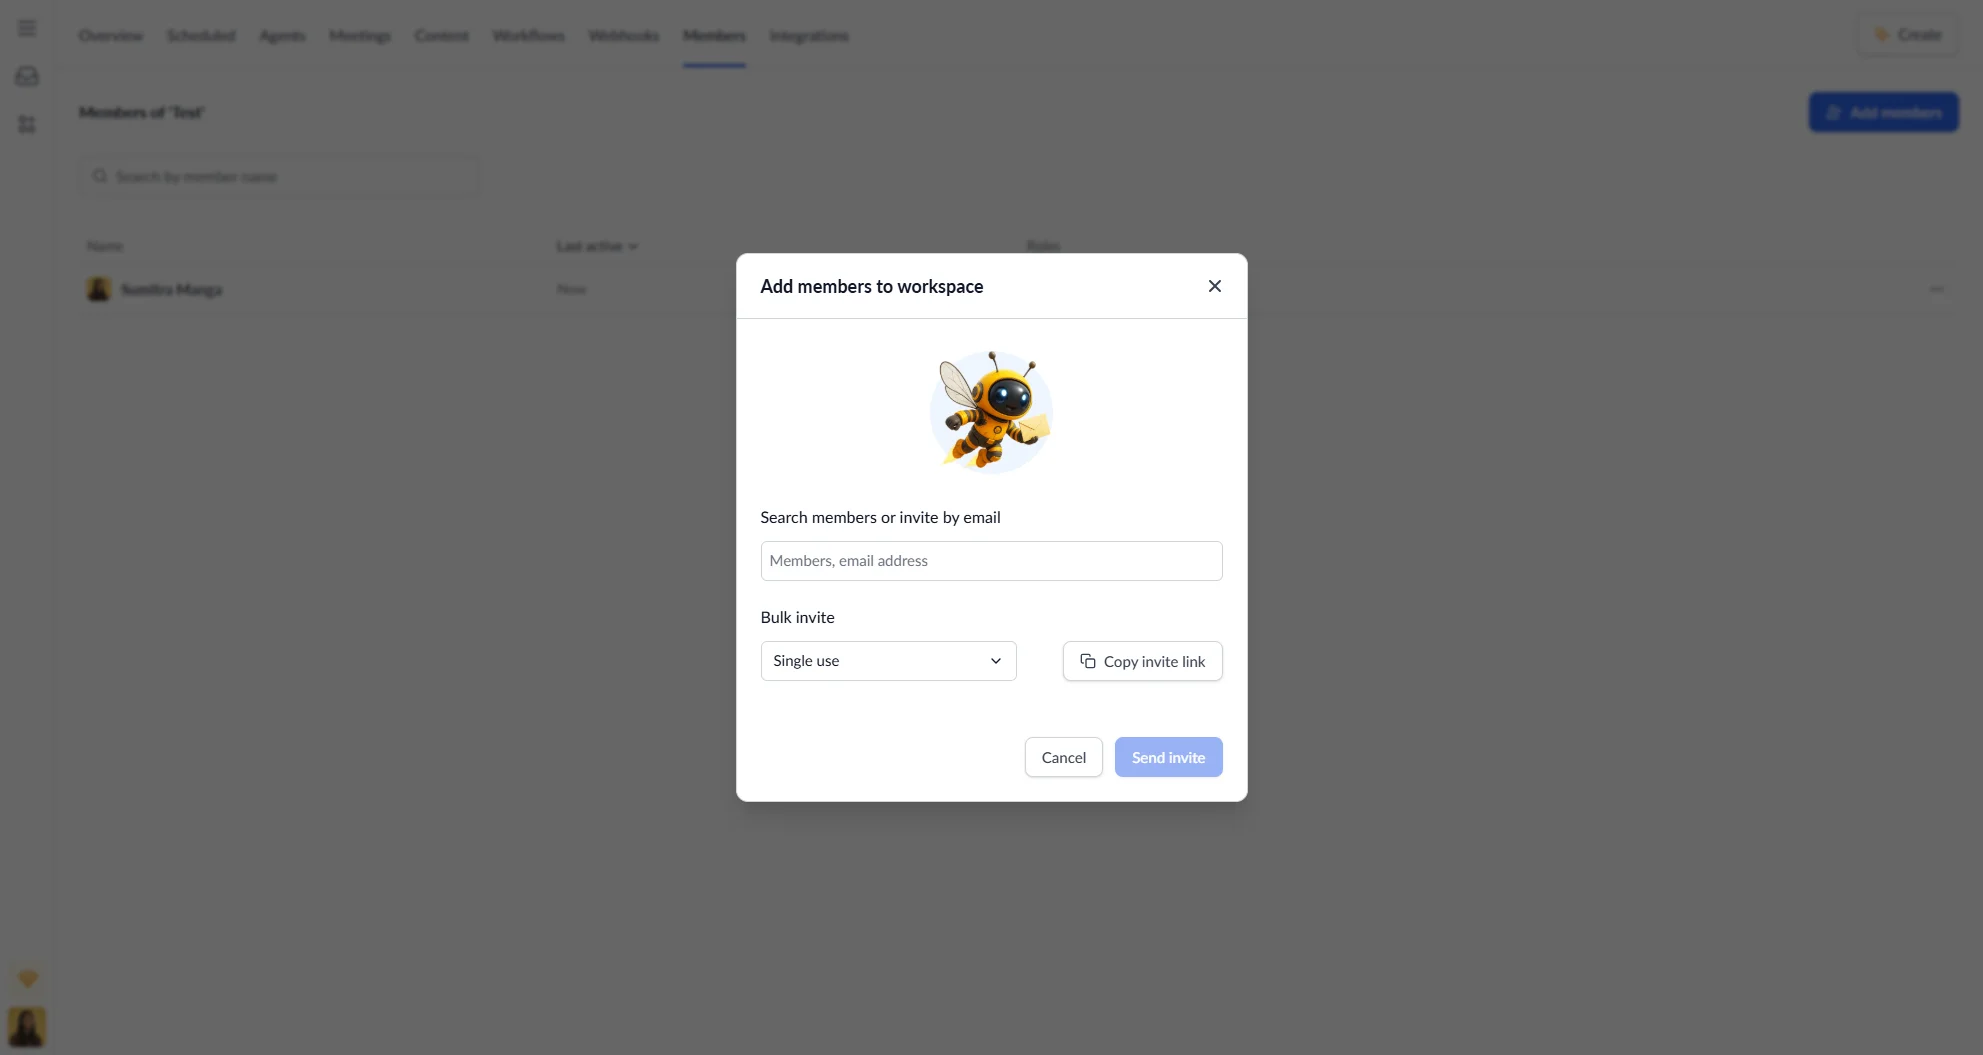
Click Add members to invite people to the workspace. There are three ways to add members:
Search or invite by email
Type a name to search existing plan members, or enter an email address to send an invitation. Selected members and emails appear as pills — click the × on any pill to remove them before sending.
Upload a CSV
If you have a large list of people to invite, you can upload a .csv or .txt file instead of entering emails one by one. Email addresses are extracted automatically from the file.
This is a feature flagged item for large organizations only. If you would like access to this feature, please contact us.
Click Upload CSV to import a list of email addresses from a .csv or .txt file.
Invite link
Generate a shareable invite link with a chosen expiry:
| Option | Expiry | Uses |
|---|---|---|
| Single use | 7 days | 1 use |
| 1 day | 1 day | Unlimited |
| 1 week | 1 week | Unlimited |
| 1 month | 1 month | Unlimited |
Click Copy invite link to generate and copy the link to your clipboard.
Once you have selected members or entered emails, click Send invite to add them. You can invite up to 50 people at a time.
Removing members
Removing a member revokes their access to the workspace immediately. This does not remove them from the plan — they will still be able to access other workspaces they belong to.
- Click the three-dot menu next to the member’s name.
- Select Remove from workspace.
- Confirm by clicking Remove Member.
Removed members immediately lose access to all conversations and content in the workspace. You cannot remove yourself from a workspace.
Roles
Roles are set at the plan level and apply across all workspaces. The three roles are:
| Role | Description |
|---|---|
| Owner | Full control including billing and workspace deletion |
| Manager | Can manage members, agents, content, and integrations |
| Member | Can use agents, chat, and upload files |
To change a member’s role, see the Plan settings guide.