Create skills
To create a skill, go to the Skills page and click Create skill. The editor opens as a single form: a Skill name, a Description, and the Instructions, with a Files panel for any extras. Click Create when you’re done, and the skill appears on the Skills page.
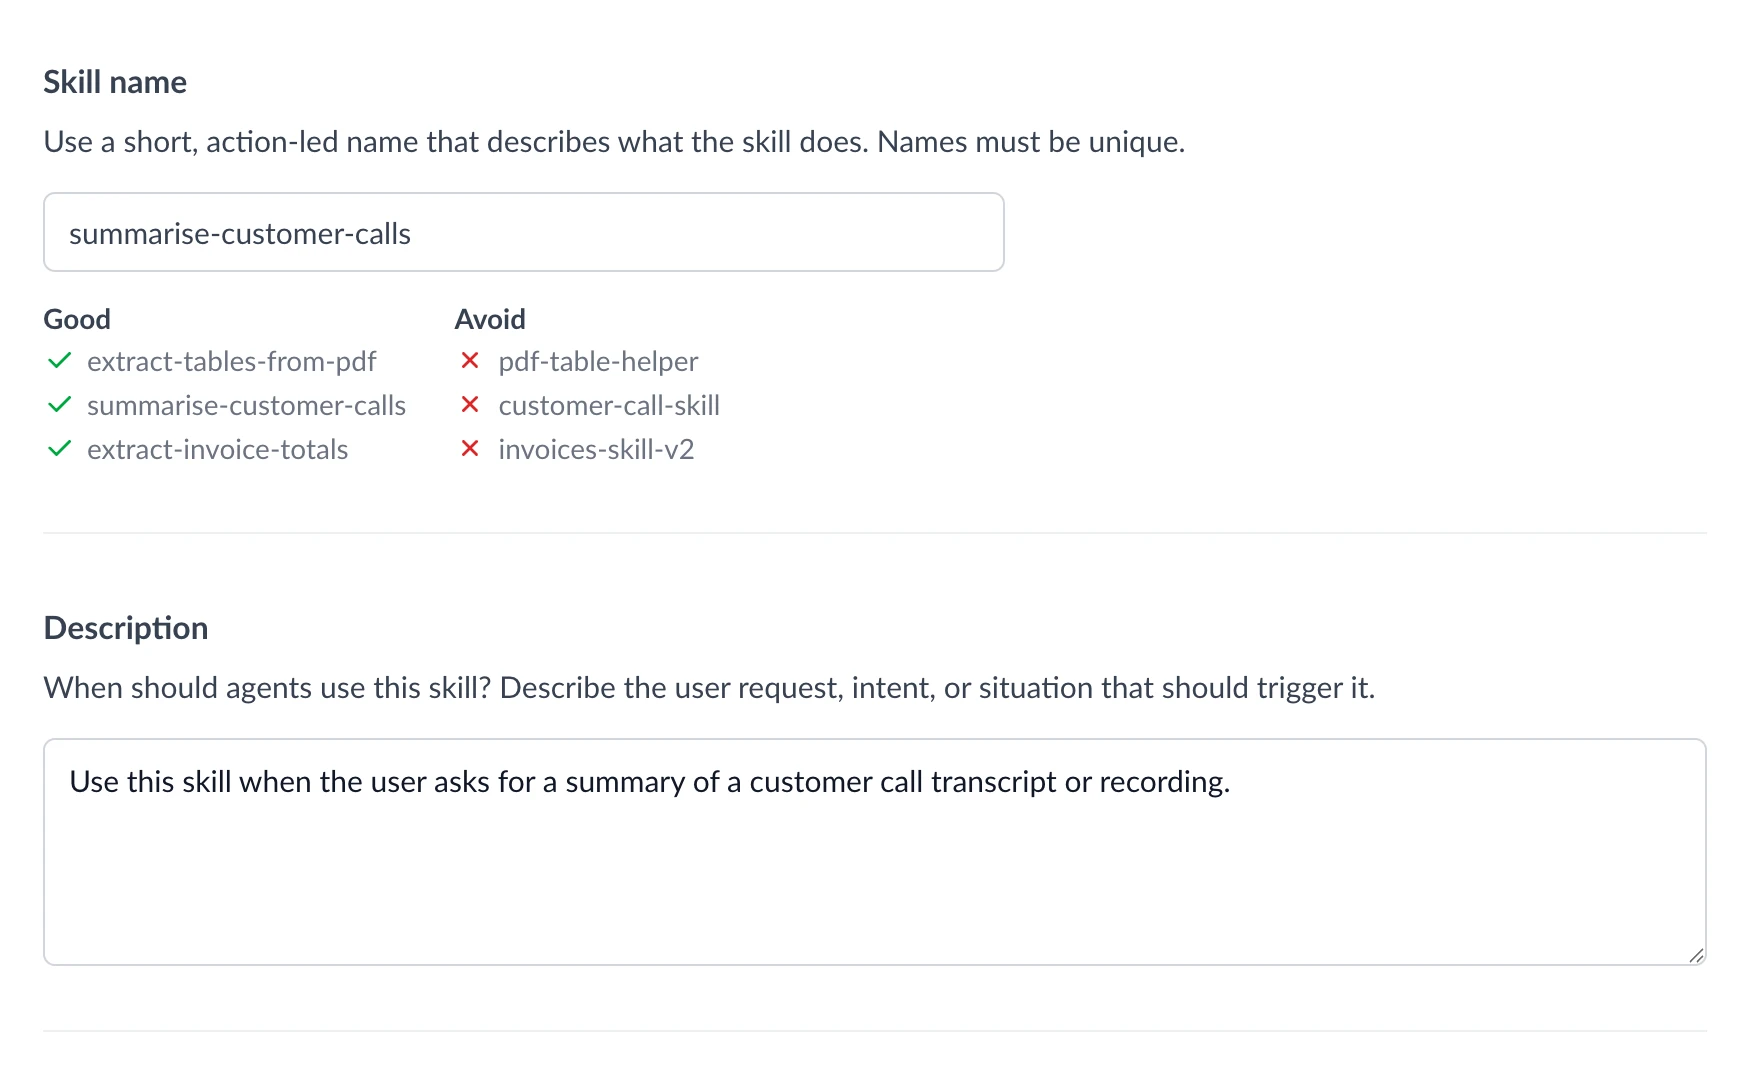
Skill name
Give the skill a short, action-led name that says what it does, like summarise-customer-calls or extract-invoice-totals (the editor shows a few good and not-so-good examples as you go). It formats the name for you as you type: spaces become hyphens and letters are lowercased.
Names must be unique across your plan, so if the name is taken, the editor will let you know when you move out of the field.
Description
The description tells agents when to reach for this skill, so write it about the request or situation that should trigger it, not just what the skill does. For example: “Use this skill when the user asks for a summary of a customer call transcript or recording.”
This is the most important field for getting a skill used at the right moment. A vague description means agents won’t know when it applies.
Instructions
The instructions are the steps the agent follows. Write them the way you’d brief a capable colleague: cover the inputs to gather, the steps to take, the output format, and anything to watch out for. The suggested structure (from the editor’s View template panel) is a good starting point:
- Overview: what the skill does, in a sentence or two.
- Context to gather: what the agent needs up front, like a file, an ID, or earlier details from the conversation.
- Steps: the actions to take, in order.
- Output: what the agent returns, and in what format.
- Constraints: what to avoid, and when to ask the user a question.
While writing instructions, type @ to insert a reference to one of your connected tools or another skill (see Integration actions).
Adding supporting files
Most skills are just instructions, but you can add extra files from the Files panel beside the editor. Whatever you add, mention it by name in your instructions so the agent knows to use it. There are three places files can go:
| Folder | What it holds | How to add |
|---|---|---|
| references | Extra instructions, split into their own files to keep the main instructions short | New markdown file |
| scripts | Code an agent can run during a task (see Scripts) | Upload |
| assets | Templates, images, or other files the skill needs | Upload |
Supported file types
Uploaded files can be documents and data (pdf, docx, xlsx, txt, csv), images (png, jpg, jpeg, gif, webp), or Python scripts (py), up to 20 MB each.
Updating a skill
To change a skill, open it from the Skills page and edit it like any other. Saving takes effect immediately for every agent that uses it, so there’s no separate publish step. Autohive keeps earlier versions behind the scenes, so a change can be rolled back if needed.