Microsoft Planner
The Autohive Microsoft Planner integration connects your Microsoft Planner workspace with Autohive’s automation platform, enabling:
- Task management - Create, update, delete, and organize tasks with assignments, due dates, priorities, and categories
- Plan organization - Manage plans across Microsoft 365 groups with full CRUD operations
- Bucket organization - Structure tasks into buckets for better project organization
- Checklist operations - Add, update, and remove checklist items within tasks for detailed task breakdown
- User management - Search for users, retrieve user details, and manage task assignments across your organization
- Board views - Control task ordering in different board views (assigned-to, bucket, progress)
- Task details - Manage comprehensive task information including descriptions, references, and preview types
Prerequisites
Before installing the Microsoft Planner integration, ensure you have:
Microsoft 365 Business or Enterprise account - Microsoft Planner is only available with Business or Enterprise subscriptions. Personal Microsoft accounts (e.g., @outlook.com, @hotmail.com) do not have access to Planner.
Organization administrator authorization - If this is the first time your organization is connecting to Microsoft Planner, an organization administrator must complete the OAuth authorization first. This is required by Microsoft’s admin consent policy for organizational applications.
Install the integration
Step 1: Organization Admin Authorization (First-time setup)
Important: Before any team member can install the Microsoft Planner integration, an organization administrator must grant permission for the Autohive Planner app.
- Organization admin contacts Autohive to request the admin consent link
- Autohive sends the authorization link to the admin
- Admin approves the OAuth consent screen which displays the required scopes:
Tasks.ReadWrite- Read and write access to Planner tasksGroup.ReadWrite.All- Access to Microsoft 365 groupsUser.Read- Read user profile informationoffline_access- Maintain access via refresh tokens
Once the admin has approved these permissions, all members of the organization can proceed with the normal integration installation below.
Step 2: Individual User Installation
After admin authorization is complete, each user can install the integration:
Log in to Autohive and navigate to Your user profile > Connections or Your workspace -> Manage workspace
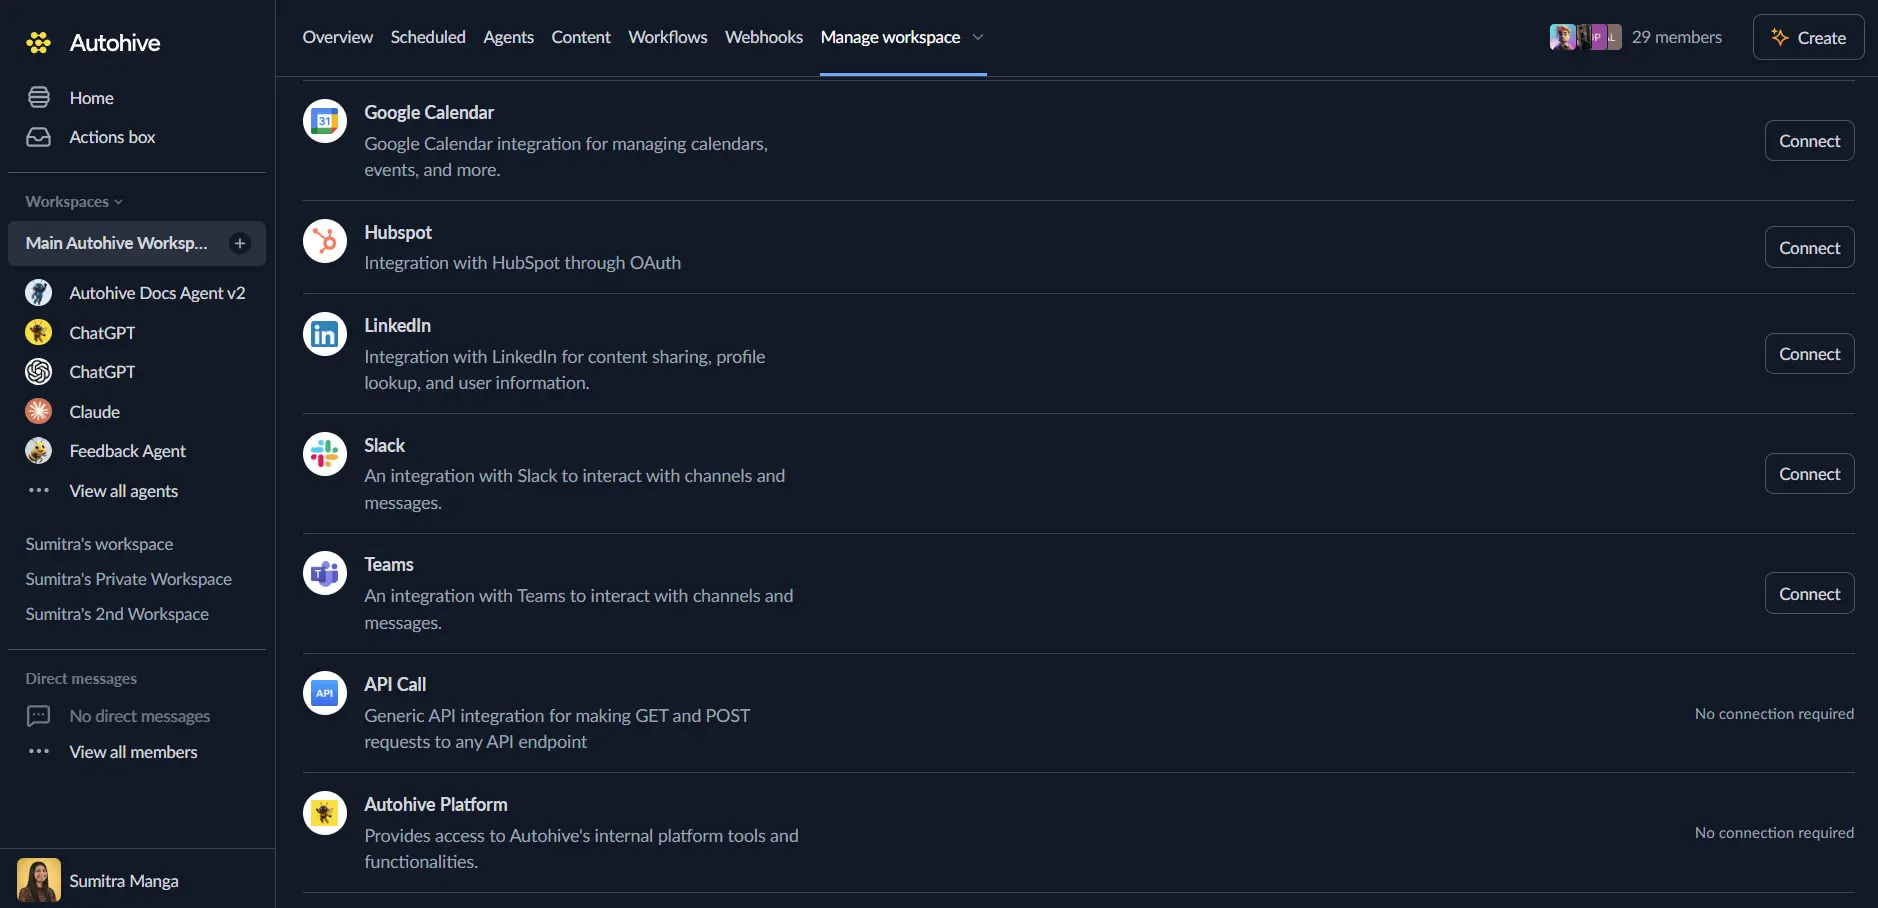
Locate the Microsoft Planner Integration card and click Connect
Authorize with Microsoft - you’ll be redirected to Microsoft’s authorization page
Review and approve permissions - the same permissions approved by the admin will be displayed for confirmation
Confirm installation - you’ll be redirected to Autohive with “Connected” status displayed
Use the integration
You can now use the integration with your agents, workflows and scheduled tasks!
- Follow our Create your first agent guide on how to create an agent.
- In the ‘Agent settings’, scroll down to the ‘Add capabilities’ section and turn on the Microsoft Planner capability.
- Once the settings have been selected, begin prompting the agent of the workflow you’d like to achieve with Autohive and Microsoft Planner!
Available capabilities
Group Management
- List Groups: List all Microsoft 365 groups the authenticated user is a member of, providing access to group-owned plans
User Operations
- Get Current User: Retrieve the currently authenticated user’s information including their user ID for task assignments
- Get User by Email: Look up user information by email address to retrieve their user ID for assignments
- Search Users: Search for users by display name or email to find their user IDs for task coordination
- List User Tasks: List all tasks assigned to a user (defaults to current user if no user ID provided)
- List User Plans: List all plans shared with a user (defaults to current user if no user ID provided)
Plan Management
- List Plans: List all plans owned by a specific Microsoft 365 group
- Get Plan: Retrieve details of a specific plan by its ID
- Create Plan: Create a new plan in a Microsoft 365 group with custom titles and organization
- Update Plan: Update a plan’s title and properties
- Delete Plan: Remove a plan from your organization
- Get Plan Details: Access plan details including category descriptions and sharing information
- Update Plan Details: Modify plan details including category descriptions and user sharing settings
Bucket Management
- List Buckets: List all buckets in a specific plan for task organization
- Get Bucket: Retrieve details of a specific bucket by its ID
- Create Bucket: Create a new bucket in a plan to organize related tasks
- Update Bucket: Update a bucket’s name and properties
- Delete Bucket: Remove a bucket from a plan
- List Bucket Tasks: List all tasks within a specific bucket for focused task management
Task Management
- List Tasks: List all tasks in a specific plan with full task details
- Get Task: Retrieve complete details of a specific task by its ID
- Create Task: Create a new task with title, assignments, due dates, priorities, categories, and completion tracking
- Update Task: Modify existing tasks including reassignments, date changes, priority updates, and status changes
- Delete Task: Remove a task from a plan
- Get Task Details: Access detailed task information including descriptions, checklists, and references
- Update Task Details: Modify task descriptions, preview types, checklists, and references
Checklist Operations
- Add Checklist Item: Add a new item to a task’s checklist for detailed task breakdown
- Update Checklist Item: Modify existing checklist items including title, checked status, and ordering
- Remove Checklist Item: Delete an item from a task’s checklist
Task Board Formats
- Get Task Assigned To Board Format: Retrieve the assigned-to task board format (ordering by assignee)
- Update Task Assigned To Board Format: Modify task ordering in the assigned-to view
- Get Task Bucket Board Format: Retrieve the bucket task board format (ordering within buckets)
- Update Task Bucket Board Format: Modify task ordering within bucket views
- Get Task Progress Board Format: Retrieve the progress task board format (ordering by progress state)
- Update Task Progress Board Format: Modify task ordering in progress views
Key features
Comprehensive Task Management
- Full CRUD operations on tasks with rich metadata support
- Task assignments with Microsoft user ID integration
- Due dates, start dates, and completion percentage tracking
- Priority levels (0-10 scale, where 0 is urgent)
- Category support for task classification and filtering
Intelligent Assignment System
- User lookup by email or display name before assignment
- Support for multiple assignees per task
- Automatic user ID resolution for seamless assignment workflows
- Assignment tracking and history across all board views
Flexible Organization
- Plan-based project organization within Microsoft 365 groups
- Bucket-based task categorization within plans
- Checklist support for breaking down complex tasks
- Multiple board view formats for different team workflows
Advanced Task Details
- Rich text descriptions for task documentation
- Reference attachments and external links
- Checklist items with checked/unchecked status
- Preview types for task card customization
ETag Management
- Automatic ETag handling for optimistic concurrency control
- Prevention of data conflicts in collaborative environments
- Seamless update and delete operations without manual ETag management
Common use cases
Project Planning and Execution
- Create project plans with organized buckets for different project phases
- Assign tasks to team members based on their expertise and availability
- Track project progress through task completion percentages
- Use checklists to break down complex deliverables into actionable steps
Team Task Coordination
- Search for team members by name or email to assign tasks
- List tasks assigned to specific users to track individual workloads
- Update task priorities as project requirements change
- Move tasks between buckets as work progresses through different stages
Workflow Automation
- Automatically create tasks from emails, forms, or other system events
- Update task statuses based on external triggers or milestones
- Send notifications when tasks are completed or deadlines approach
- Generate reports on task completion and team productivity
Agile and Sprint Planning
- Create plans for sprints with buckets for backlog, in-progress, and completed
- Assign story points through priority levels
- Track sprint progress through task completion metrics
- Manage sprint checklists for acceptance criteria
Department and Resource Management
- List all plans across Microsoft 365 groups for organizational visibility
- Search for tasks across multiple plans to identify resource bottlenecks
- Update task assignments to balance workload across team members
- Archive completed plans while preserving task history
Important notes
User ID Requirements
Microsoft Planner requires actual user IDs (GUIDs) for task assignments, not email addresses or the string “me”. Always use one of these actions first to retrieve proper user IDs before assigning tasks:
Get Current User- For assigning to the authenticated userGet User by Email- For assigning to a specific person by their emailSearch Users- For finding users by name or email
Account Type Restrictions
- Business/Enterprise Only: Microsoft Planner is only available with Microsoft 365 Business or Enterprise subscriptions
- Personal Accounts Not Supported: Personal Microsoft accounts (e.g., @outlook.com, @hotmail.com) do not have access to Planner
- Admin Authorization Required: Organization administrators must complete OAuth authorization first before other team members can connect
ETag Management
The integration automatically handles ETag retrieval for all update and delete operations. ETags are required by Microsoft’s API for optimistic concurrency control and prevent data conflicts when multiple users edit the same resource.
Checklist Operations
Checklist helper actions automatically clean existing checklist items by removing read-only fields (lastModifiedBy, lastModifiedDateTime) and preserving only writable fields to prevent API validation errors.
Order Hints
Order hints control the positioning of items in lists. The integration handles the complexity of Microsoft’s order hint format:
- For new items, use the default
" !"or provide a custom hint - For existing items, the integration preserves ordering without resubmitting potentially invalid hints
- Only include order hints when explicitly reordering items
Usage examples
Example 1: Create a task and assign it to yourself
  1. First, get your user ID:
   - Use "Get Current User" action
   - Save the returned user_id

2. Create a task with assignment:
   - Use "Create Task" action
   - Set plan_id, bucket_id, and title
   - In assignments field, use: {"<user_id>": {}}
Example 2: Create a task with a checklist
  1. Create the task:
   - Use "Create Task" action
   - Set plan_id, bucket_id, title, due date, and priority

2. Add checklist items:
   - Use "Add Checklist Item" action multiple times
   - Provide task_id and title for each item
   - Set is_checked to false for incomplete items
Example 3: Assign a task to another user by email
  1. Find the user:
   - Use "Get User by Email" action
   - Provide the colleague's email address
   - Save the returned user_id

2. Assign the task:
   - Use "Update Task" action
   - Provide the task_id
   - In assignments field, use: {"<user_id>": {}}
Microsoft Graph API integration
API Version
This integration uses Microsoft Graph API v1.0 for stable, production-ready Planner operations.
Authentication
- OAuth 2.0 platform authentication through Microsoft’s identity platform
- Automatic token management and refresh by Autohive SDK
- Secure access token injection for all API requests
API Scopes
The integration requests the following Microsoft Graph API scopes:
Tasks.ReadWrite- Required for creating, reading, updating, and deleting tasksGroup.ReadWrite.All- Required for accessing Microsoft 365 groups and group-owned plansUser.Read- Required for reading user profile informationoffline_access- Required for maintaining long-term access via refresh tokens
Disconnect the integration
Important: Disconnecting stops data synchronization but preserves existing data in both systems.
- Navigate to Your user profile -> Connections or Your workspace -> Manage workspace
- Find the Microsoft Planner Integration
- Click Disconnect and confirm
Data Impact: Existing data remains unchanged in both systems, but sync stops and Autohive loses Microsoft Planner API access.
Uninstall the app
From Microsoft: Go to your Microsoft 365 admin center > Azure Active Directory > Enterprise applications > Find Autohive and remove access