Agent chat & communication
Agent chat is where you talk to your agents. Every agent conversation happens here — whether you’re asking a quick question, kicking off a multi-step task, or reviewing what an agent produced.
Conversation types
| Type | Participants | Best for |
|---|---|---|
| Direct agent chat | You + a single agent | Focused tasks, quick questions |
| Group chat | Multiple agents and/or members | Combining expertise, collaborative problem-solving |
Starting a new chat
Direct chat with an agent
- Click an agent in the Agents sidebar.
- A fresh conversation is displayed to start chatting in.
Starting a group chat
Group chats let you bring multiple agents and/or members into a single conversation — useful when a task benefits from more than one agent’s expertise, or when you want a human colleague involved alongside an agent.
- Click the New chat button (pencil icon) at the top of the “Workspaces” options menu.
- In the To: field, search for and select the agents and members you want to include. Each participant appears as a pill — click the × to remove one.
- Type your opening message and press Enter to start the conversation.
You can also use @ mentions in any existing conversation to bring an additional agent or member into the thread.
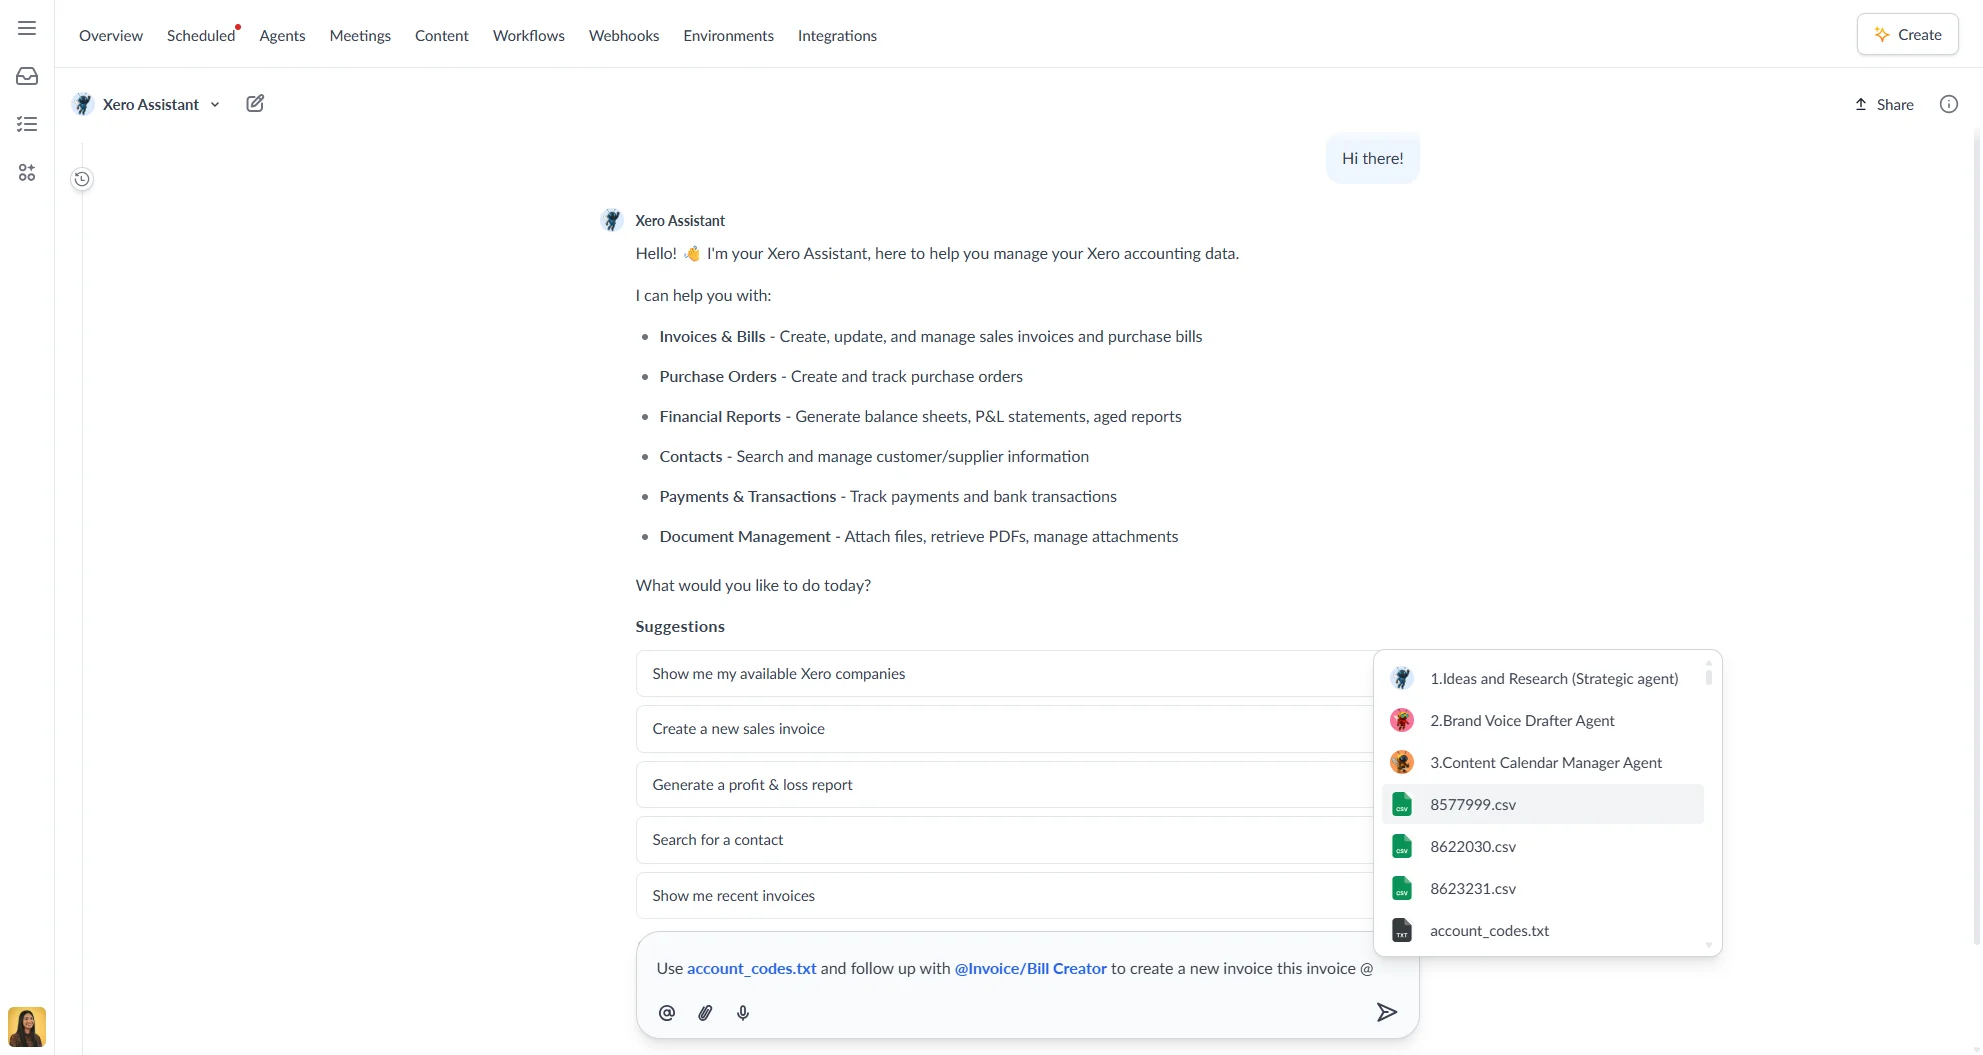
Sending messages
- Type your message in the input area at the bottom of the chat window.
- Type
@to open the mention suggester and search for agents, human colleagues and files from the Content area. - Mentions notify the right people (or agents) and provide full context.
- When you mention files, your agents can read them directly from the Content area.
- Press Enter to send, or Shift + Enter for a line break.
- Click the stop icon to cancel a response while the agent is replying.
Mentions
Type @ to open the mention suggester and select an agent, member, or file. Mentions bring the right person or agent into the conversation and give them full context.
When you mention a file, the agent reads it directly from the Content area.
Attachments
- Click the paperclip icon or drag and drop files into the chat window.
- Uploaded files appear as preview cards. Click to view the full content.
- Supported formats include documents, spreadsheets, images, and PDFs.
Voice input
Click the microphone icon in the message input to dictate your message. Autohive transcribes your speech to text — you can review and edit the transcription before sending. Your browser may prompt for microphone access the first time you use this feature
Message formatting
Autohive supports Markdown in messages:
**bold**,*italic*,`inline code`- Fenced code blocks, lists, blockquotes, and links
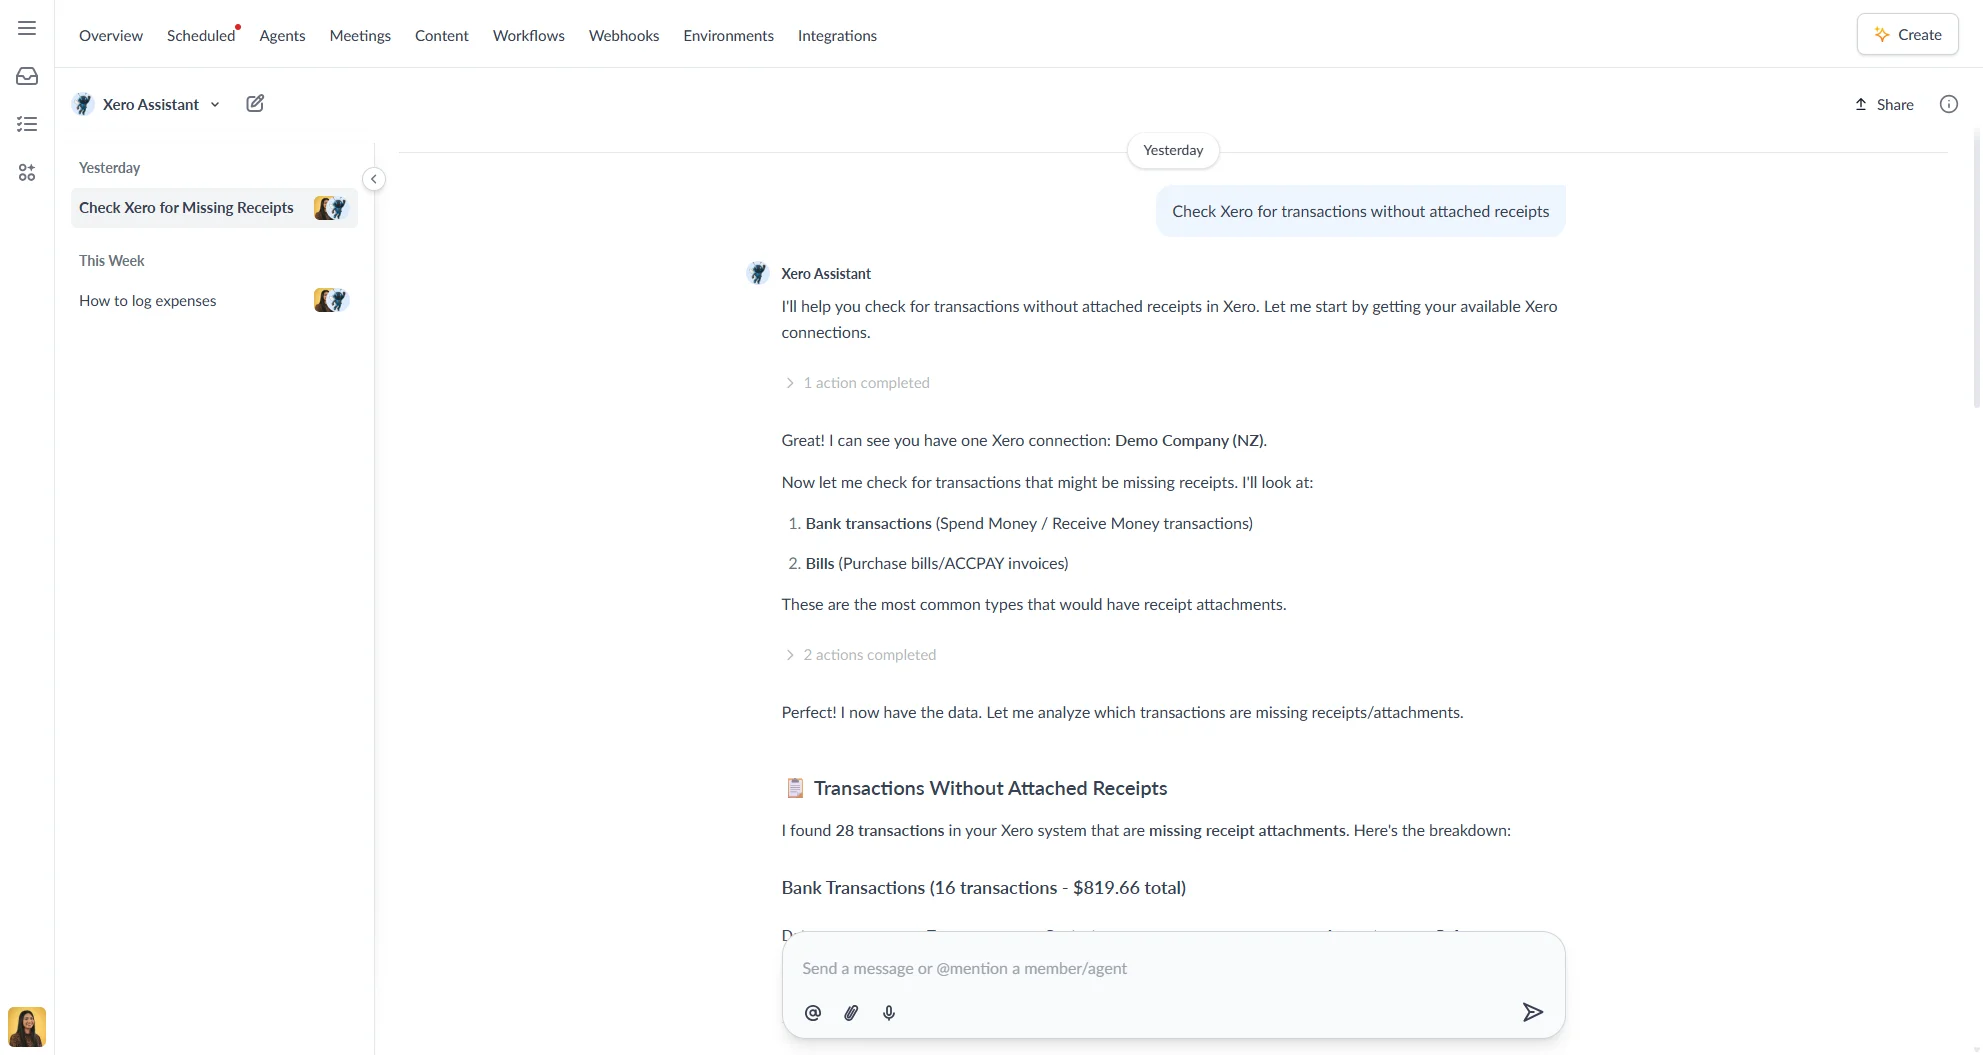
What agents send back
Agent responses can contain more than plain text. Here is what you may see in a conversation:
Text responses
Standard replies with Markdown formatting. Long responses may include a Summary block at the top.
Artifacts
When an agent produces a document, webpage, chart, or other structured output, it appears in the Artifact viewer — a panel that opens alongside the chat.
The artifact viewer has two modes:
- Preview — renders the output (e.g., shows an HTML page or formatted document)
- Code — shows the raw source
From the artifact viewer you can:
- Switch between versions if the agent has revised the output
- Copy the content to your clipboard
- Download as HTML page or Download as PDF
- Save to Content Area to store it in your workspace
- Share artifact to generate a shareable link (see Sharing an artifact below)

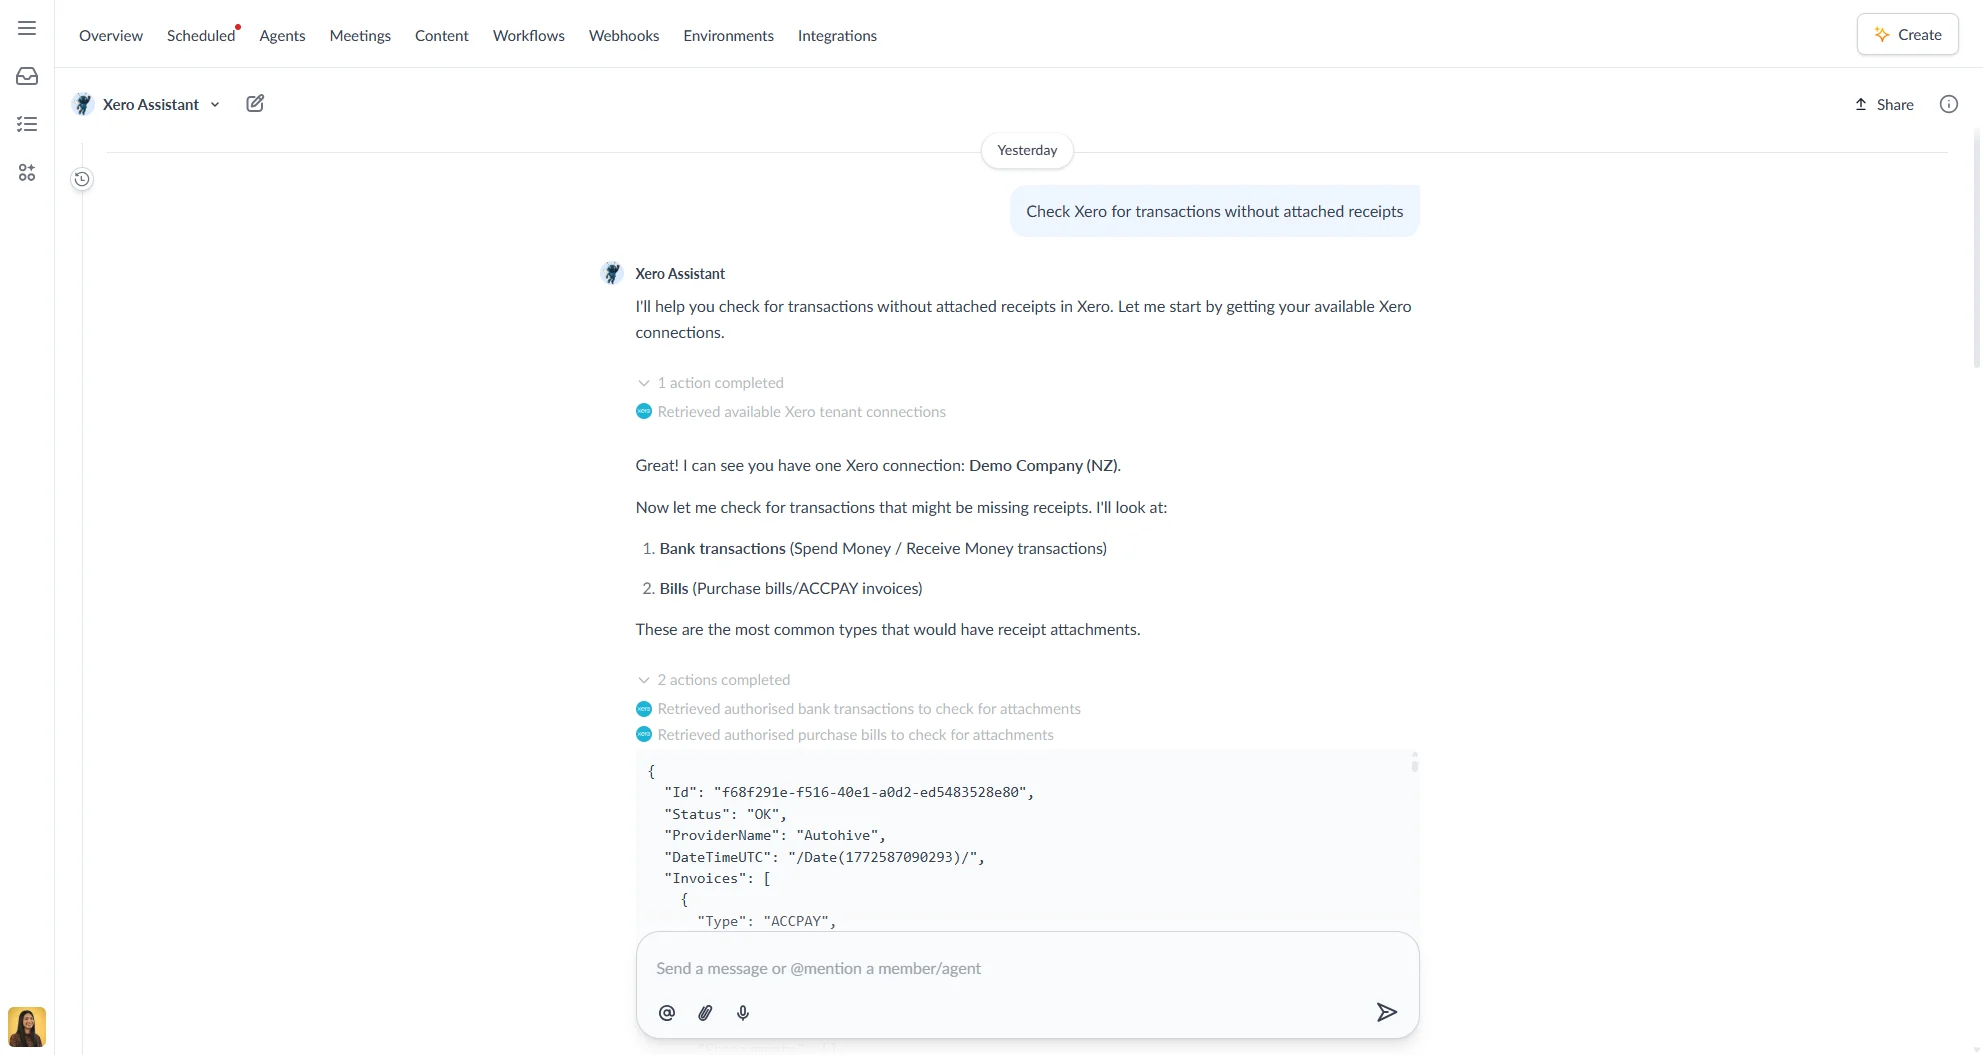
Tool messages
When an agent uses an integration or built-in tool (e.g., searches Google Drive, sends a Slack message), a tool message appears in the conversation showing which tool was used and what it did. Click to expand the full output.
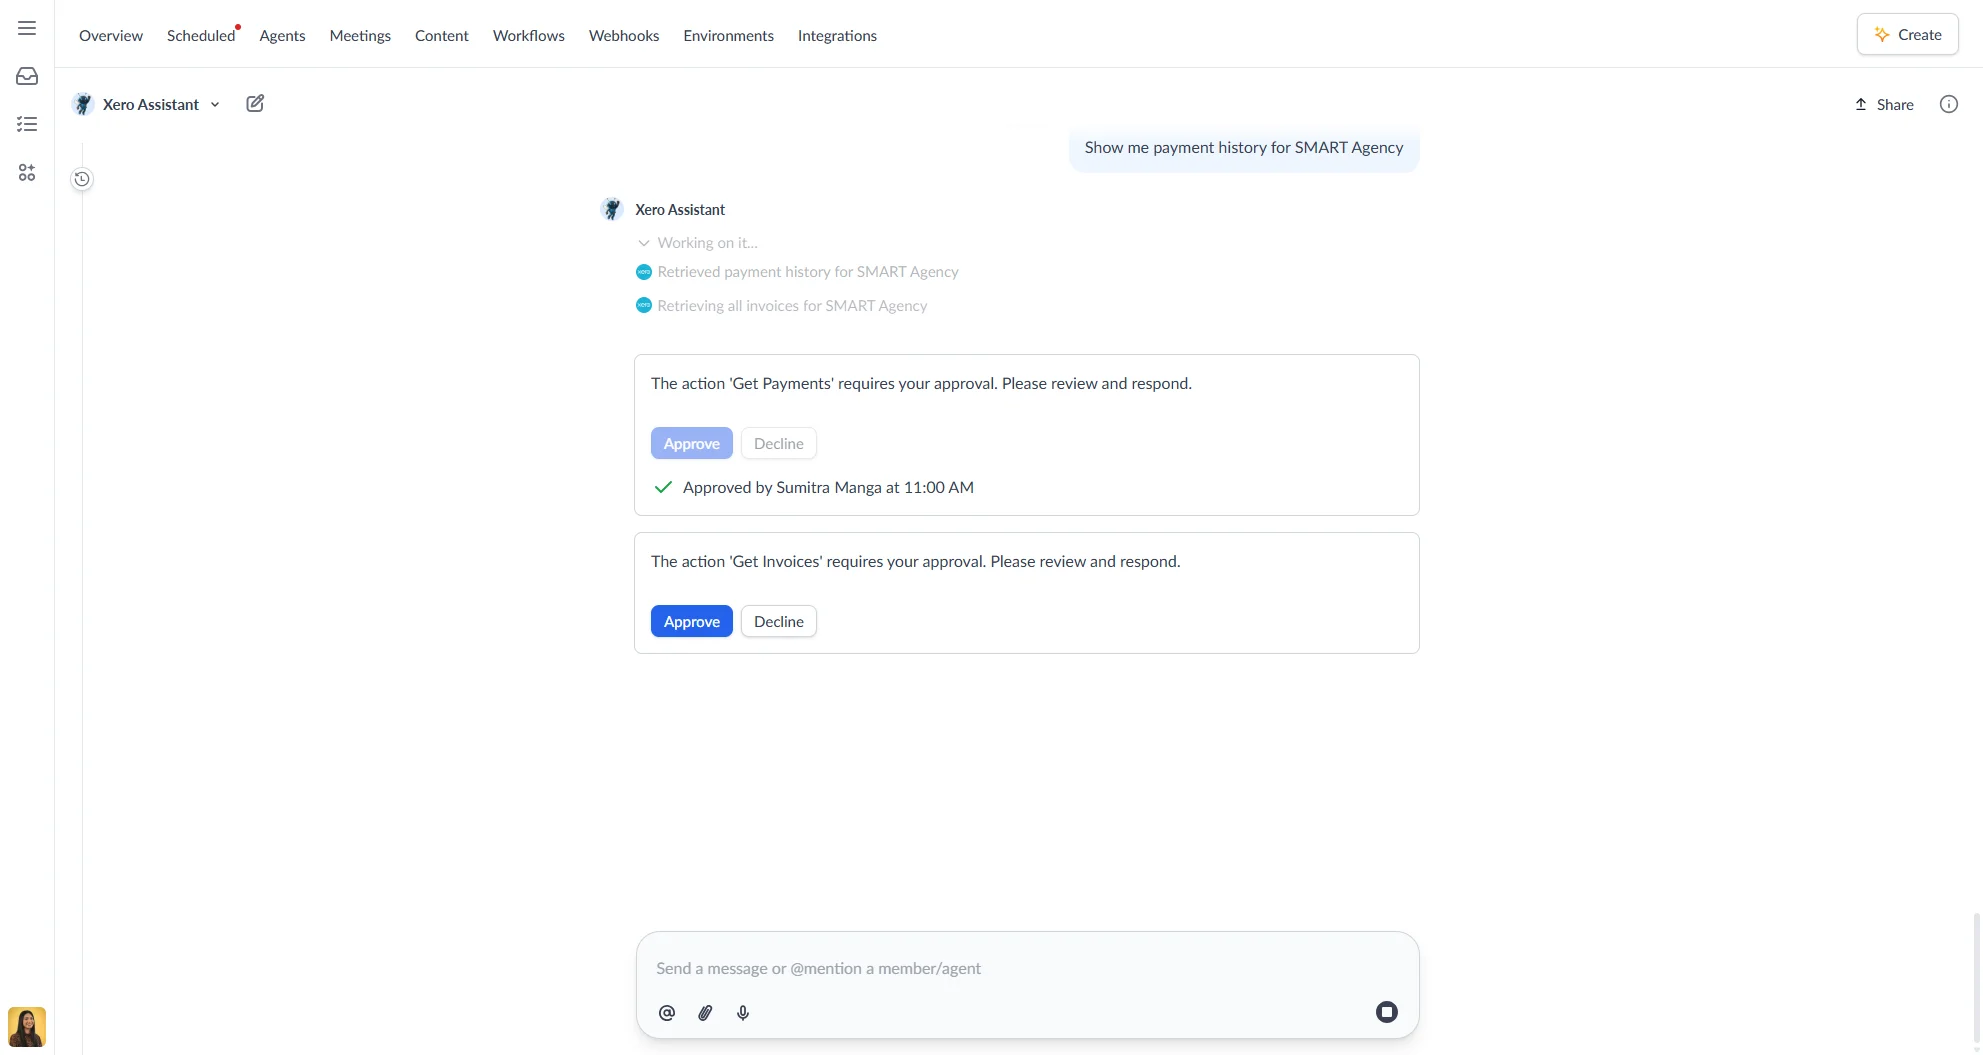
Approval requests
If an agent action has Requires approval enabled, the agent will pause and show an approval prompt before proceeding:
- Click Approve to let the action run.
- Click Deny to block it.
See Agent tools & capabilities to learn how to configure approval requirements.
Managing conversations
Renaming and deleting
Right-click or open the three-dot menu on any conversation in the chat history sidebar to Rename or Delete it. Deleting a conversation is permanent.
Branching a conversation
You can branch off a new conversation from any point in an existing one. Hover over a message and click the Branch option to create a new conversation that starts with all the messages up to that point — including the same agent and files. This is useful for exploring a different direction without losing your original thread.
Sharing a conversation
Click the Share button in the chat header to generate a shareable link to the current conversation. Options include:
- Who can view — anyone with the link (no Autohive account required)
- Hide member details — share anonymously without showing participant names
- Link expiry — set the link to expire after 24 hours, 7 days, 30 days, or a custom duration
Sharing creates a snapshot of the conversation as it exists at that moment. Any new messages after sharing remain private.
To manage or revoke existing share links, open the Share modal and deactivate any active shares.
Sharing an artifact
You can share an individual artifact without sharing the entire conversation. Click Share artifact in the artifact viewer to generate a link to that specific artifact.
Artifact share options are the same as conversation shares:
- Hide member details — share anonymously without showing participant names
- Link expiry — never, 24 hours, 7 days, 30 days, or a custom duration
Anyone with the link can view the artifact without an Autohive account.
Chat history
Use Search (⌘/Ctrl + F) to find messages or files in the current chat.
All conversations are saved automatically. Use the chat history sidebar (desktop) to navigate between past conversations, grouped by time period (Today, Yesterday, Last Week, etc.).
Notifications & presence
- Unread badges on the sidebar highlight active conversations.
- Presence indicators show who’s online and typing.
Best practices for productive chats
- Be specific when you tell your agents exactly what you need and reference files.
- Use separate chats for different topics to keep things organised.
- Ask agents to create meeting summaries to capture decisions.
- Use mentions strategically to bring the right expertise into each conversation.
Troubleshooting
| Issue | Possible cause | How to fix |
|---|---|---|
| Message won’t send | Connection interrupted | Refresh the page and check your internet connection |
| Agent not responding | Complex request or context limit reached | Try a shorter, clearer prompt and resend |
| File preview not working | Unsupported file format | Download the file directly or convert to PDF |
| Approval prompt not appearing | Action does not have approval required | Enable Requires approval in the agent settings |
| Context window warning appears | Conversation is approaching the agent’s context limit | Start a new chat or fork the conversation from an earlier message |